0
Skip to Content
Decks
Gallery
About
Get A Quote
Open Menu
Close Menu
Decks
Gallery
About
Get A Quote
Open Menu
Close Menu
Decks
Gallery
About
Get A Quote
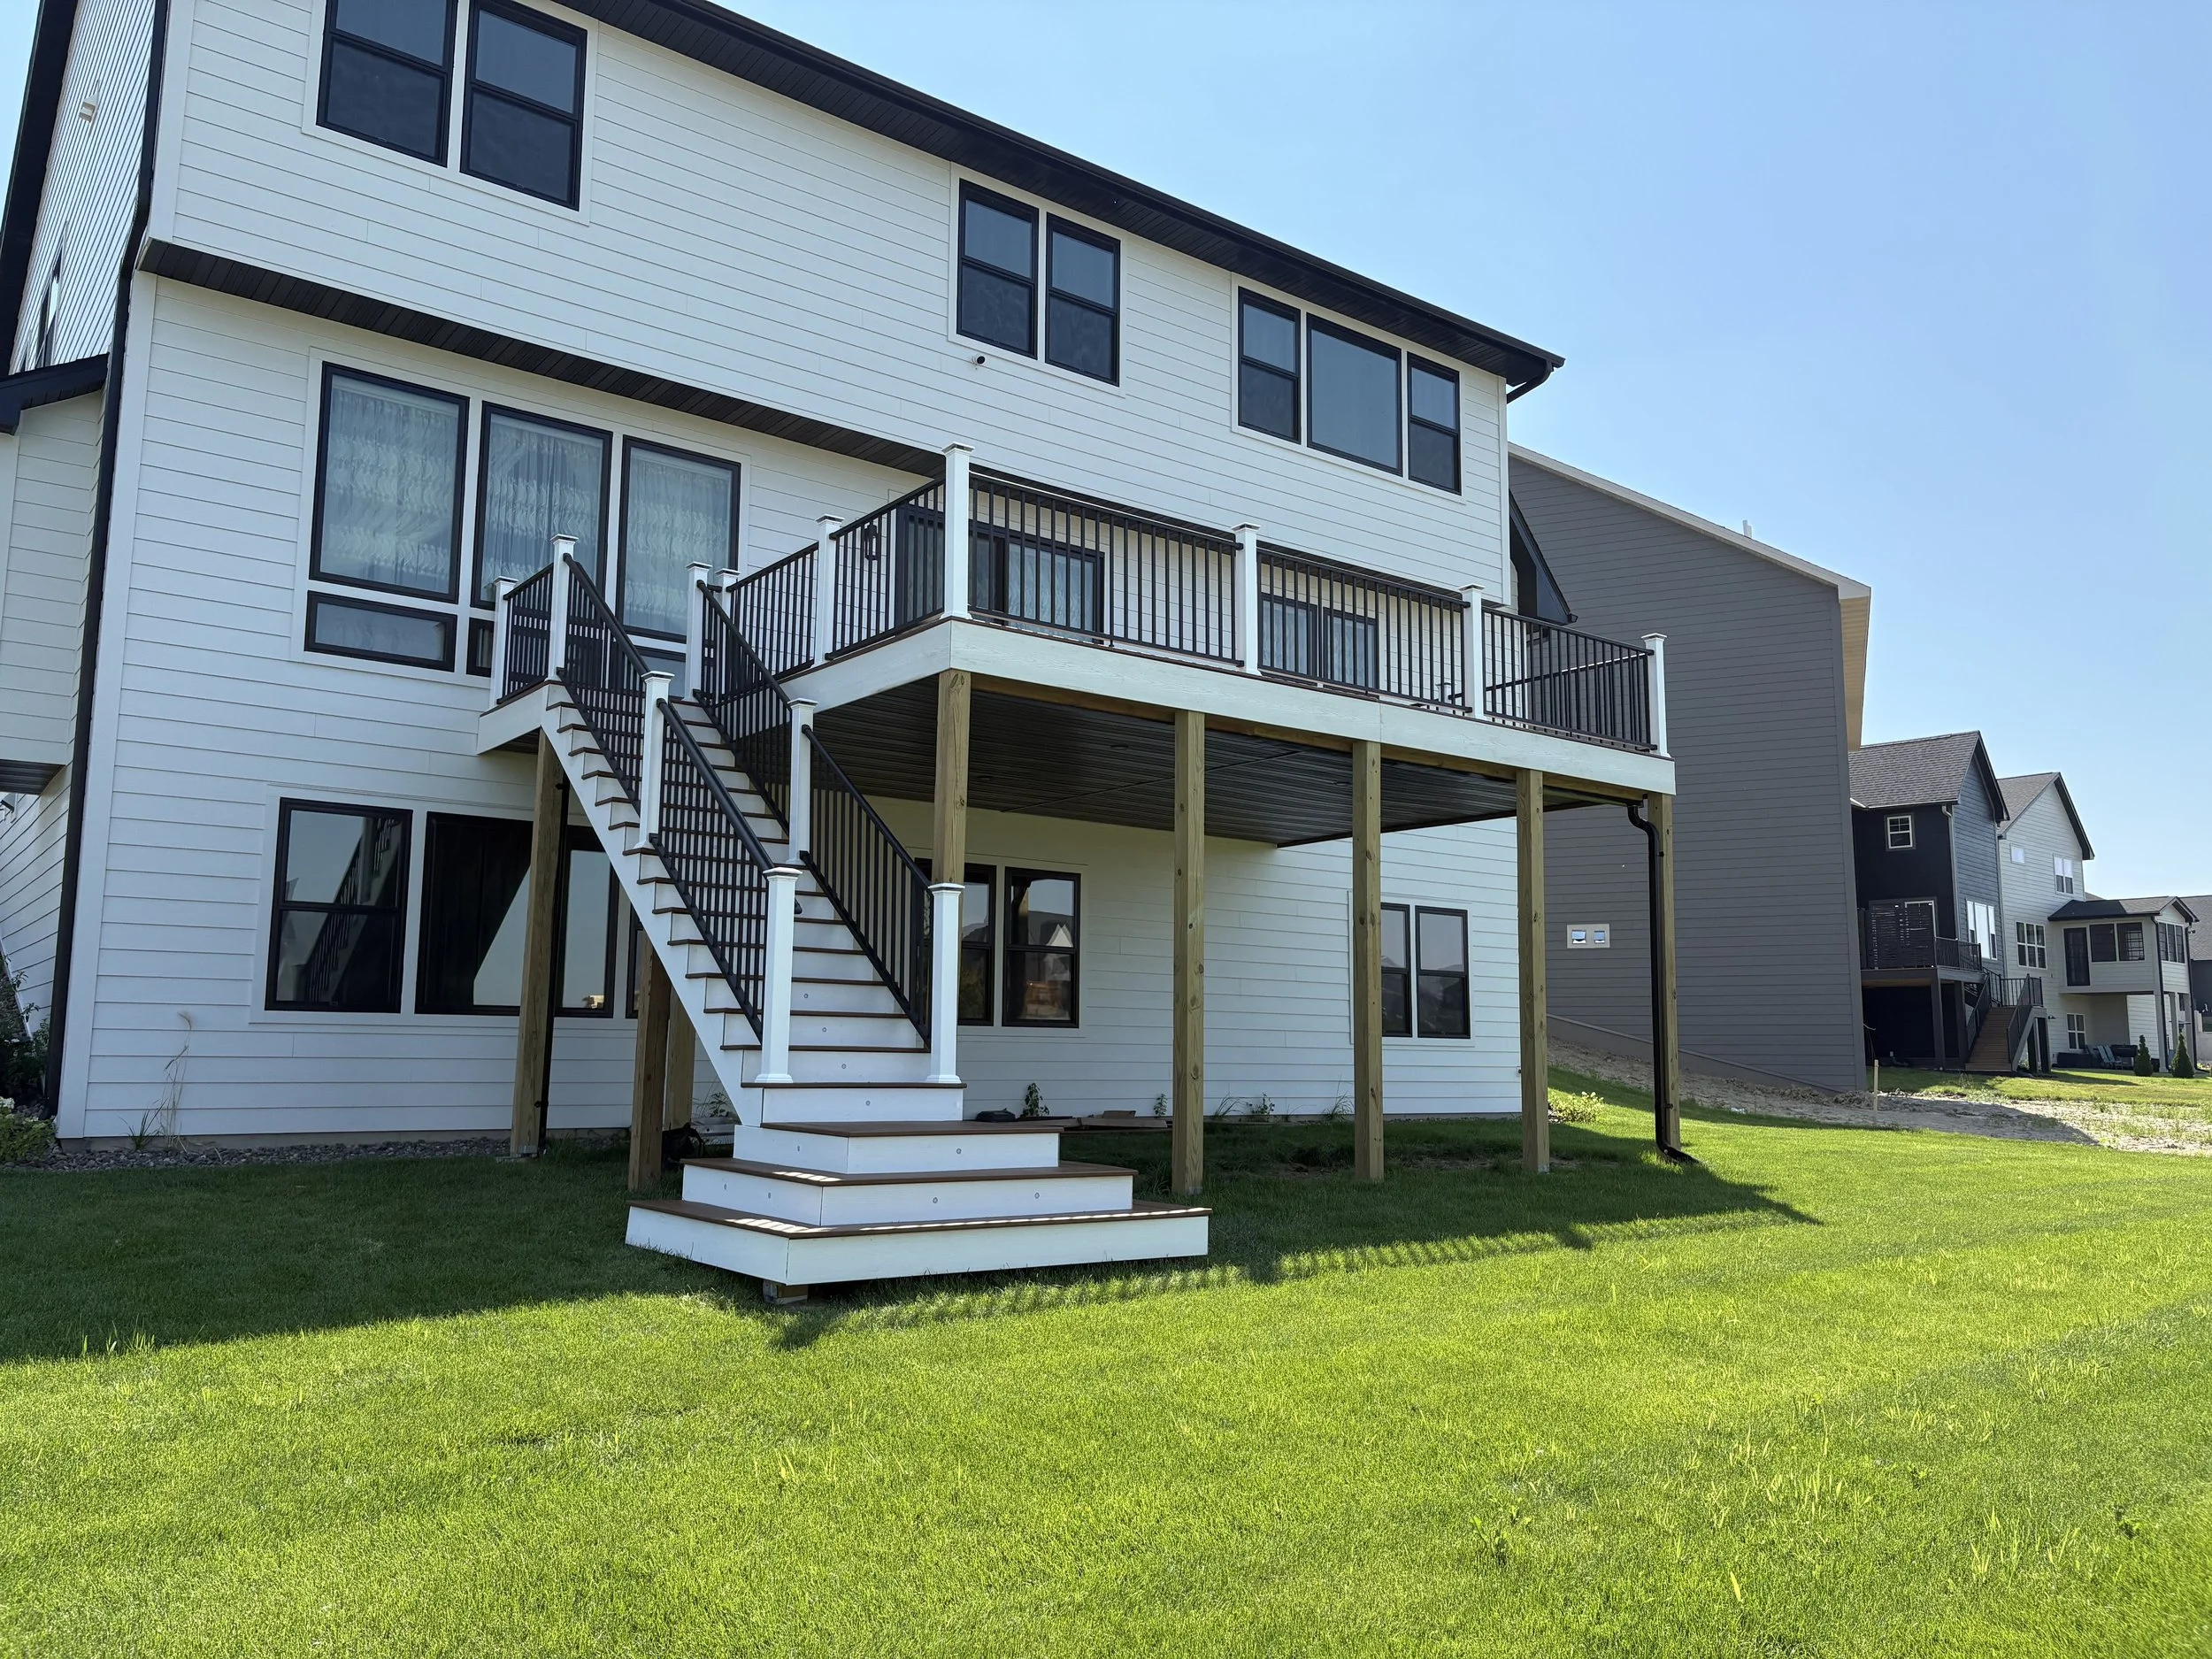
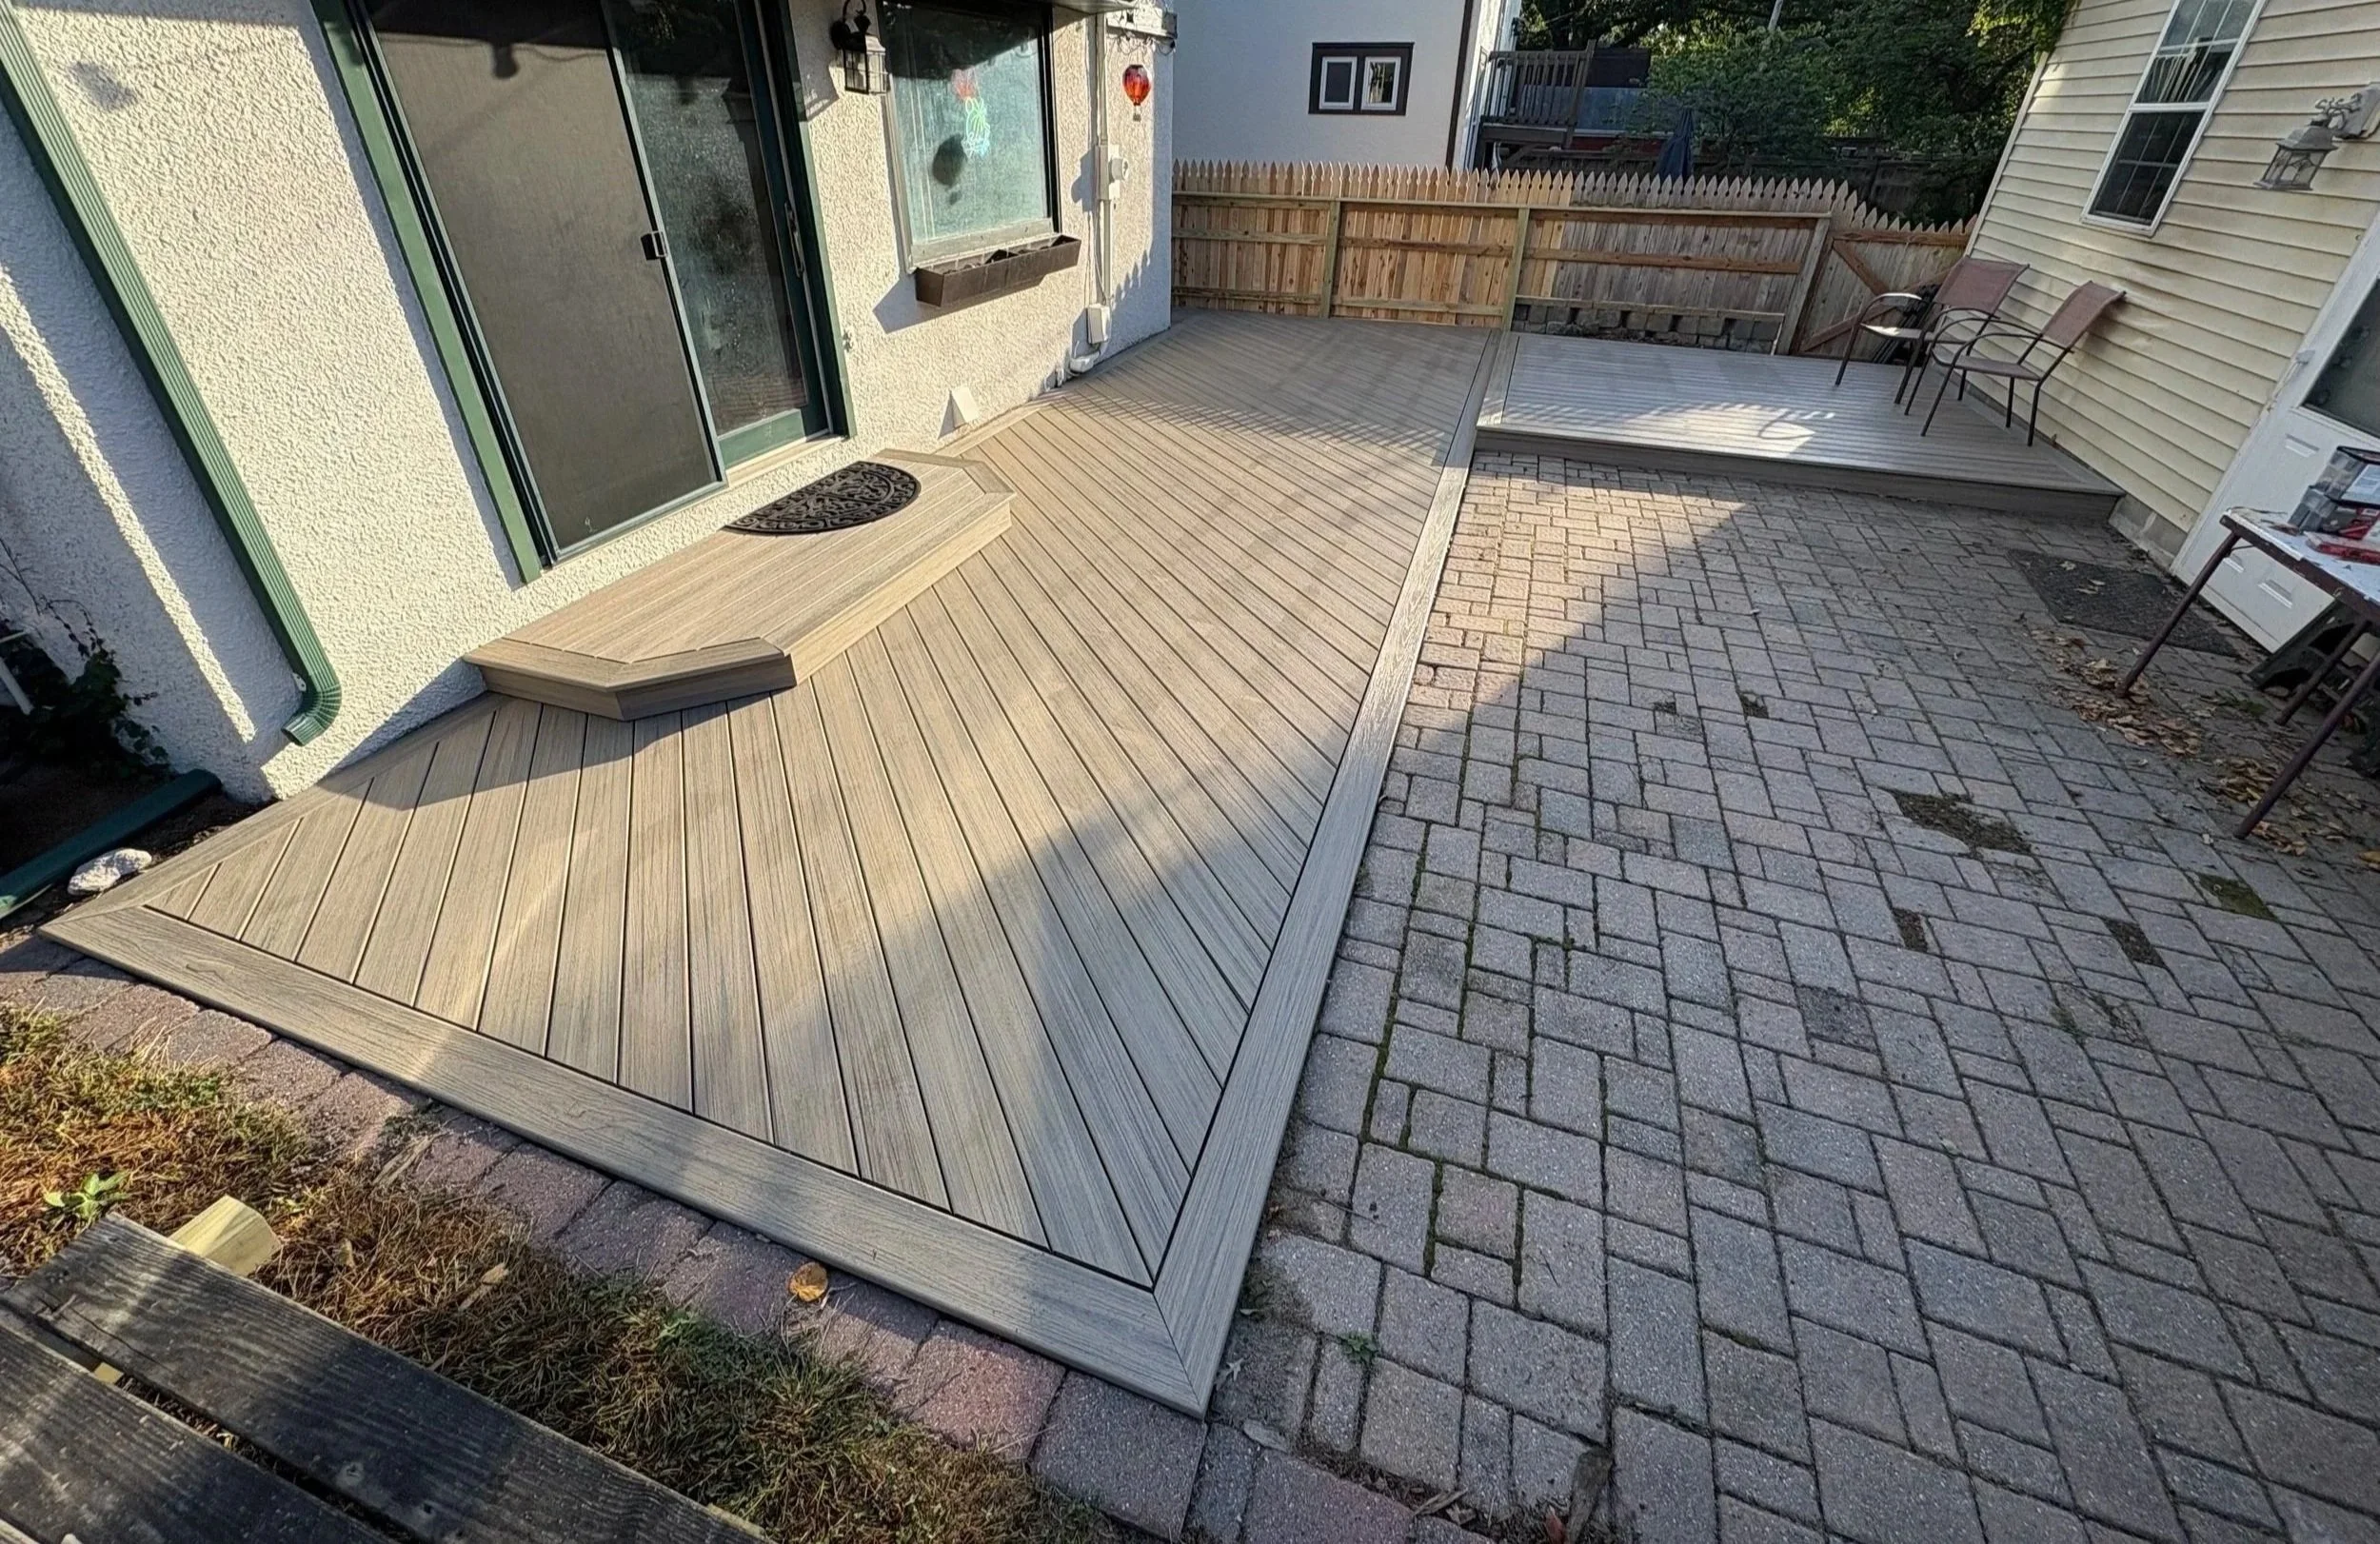
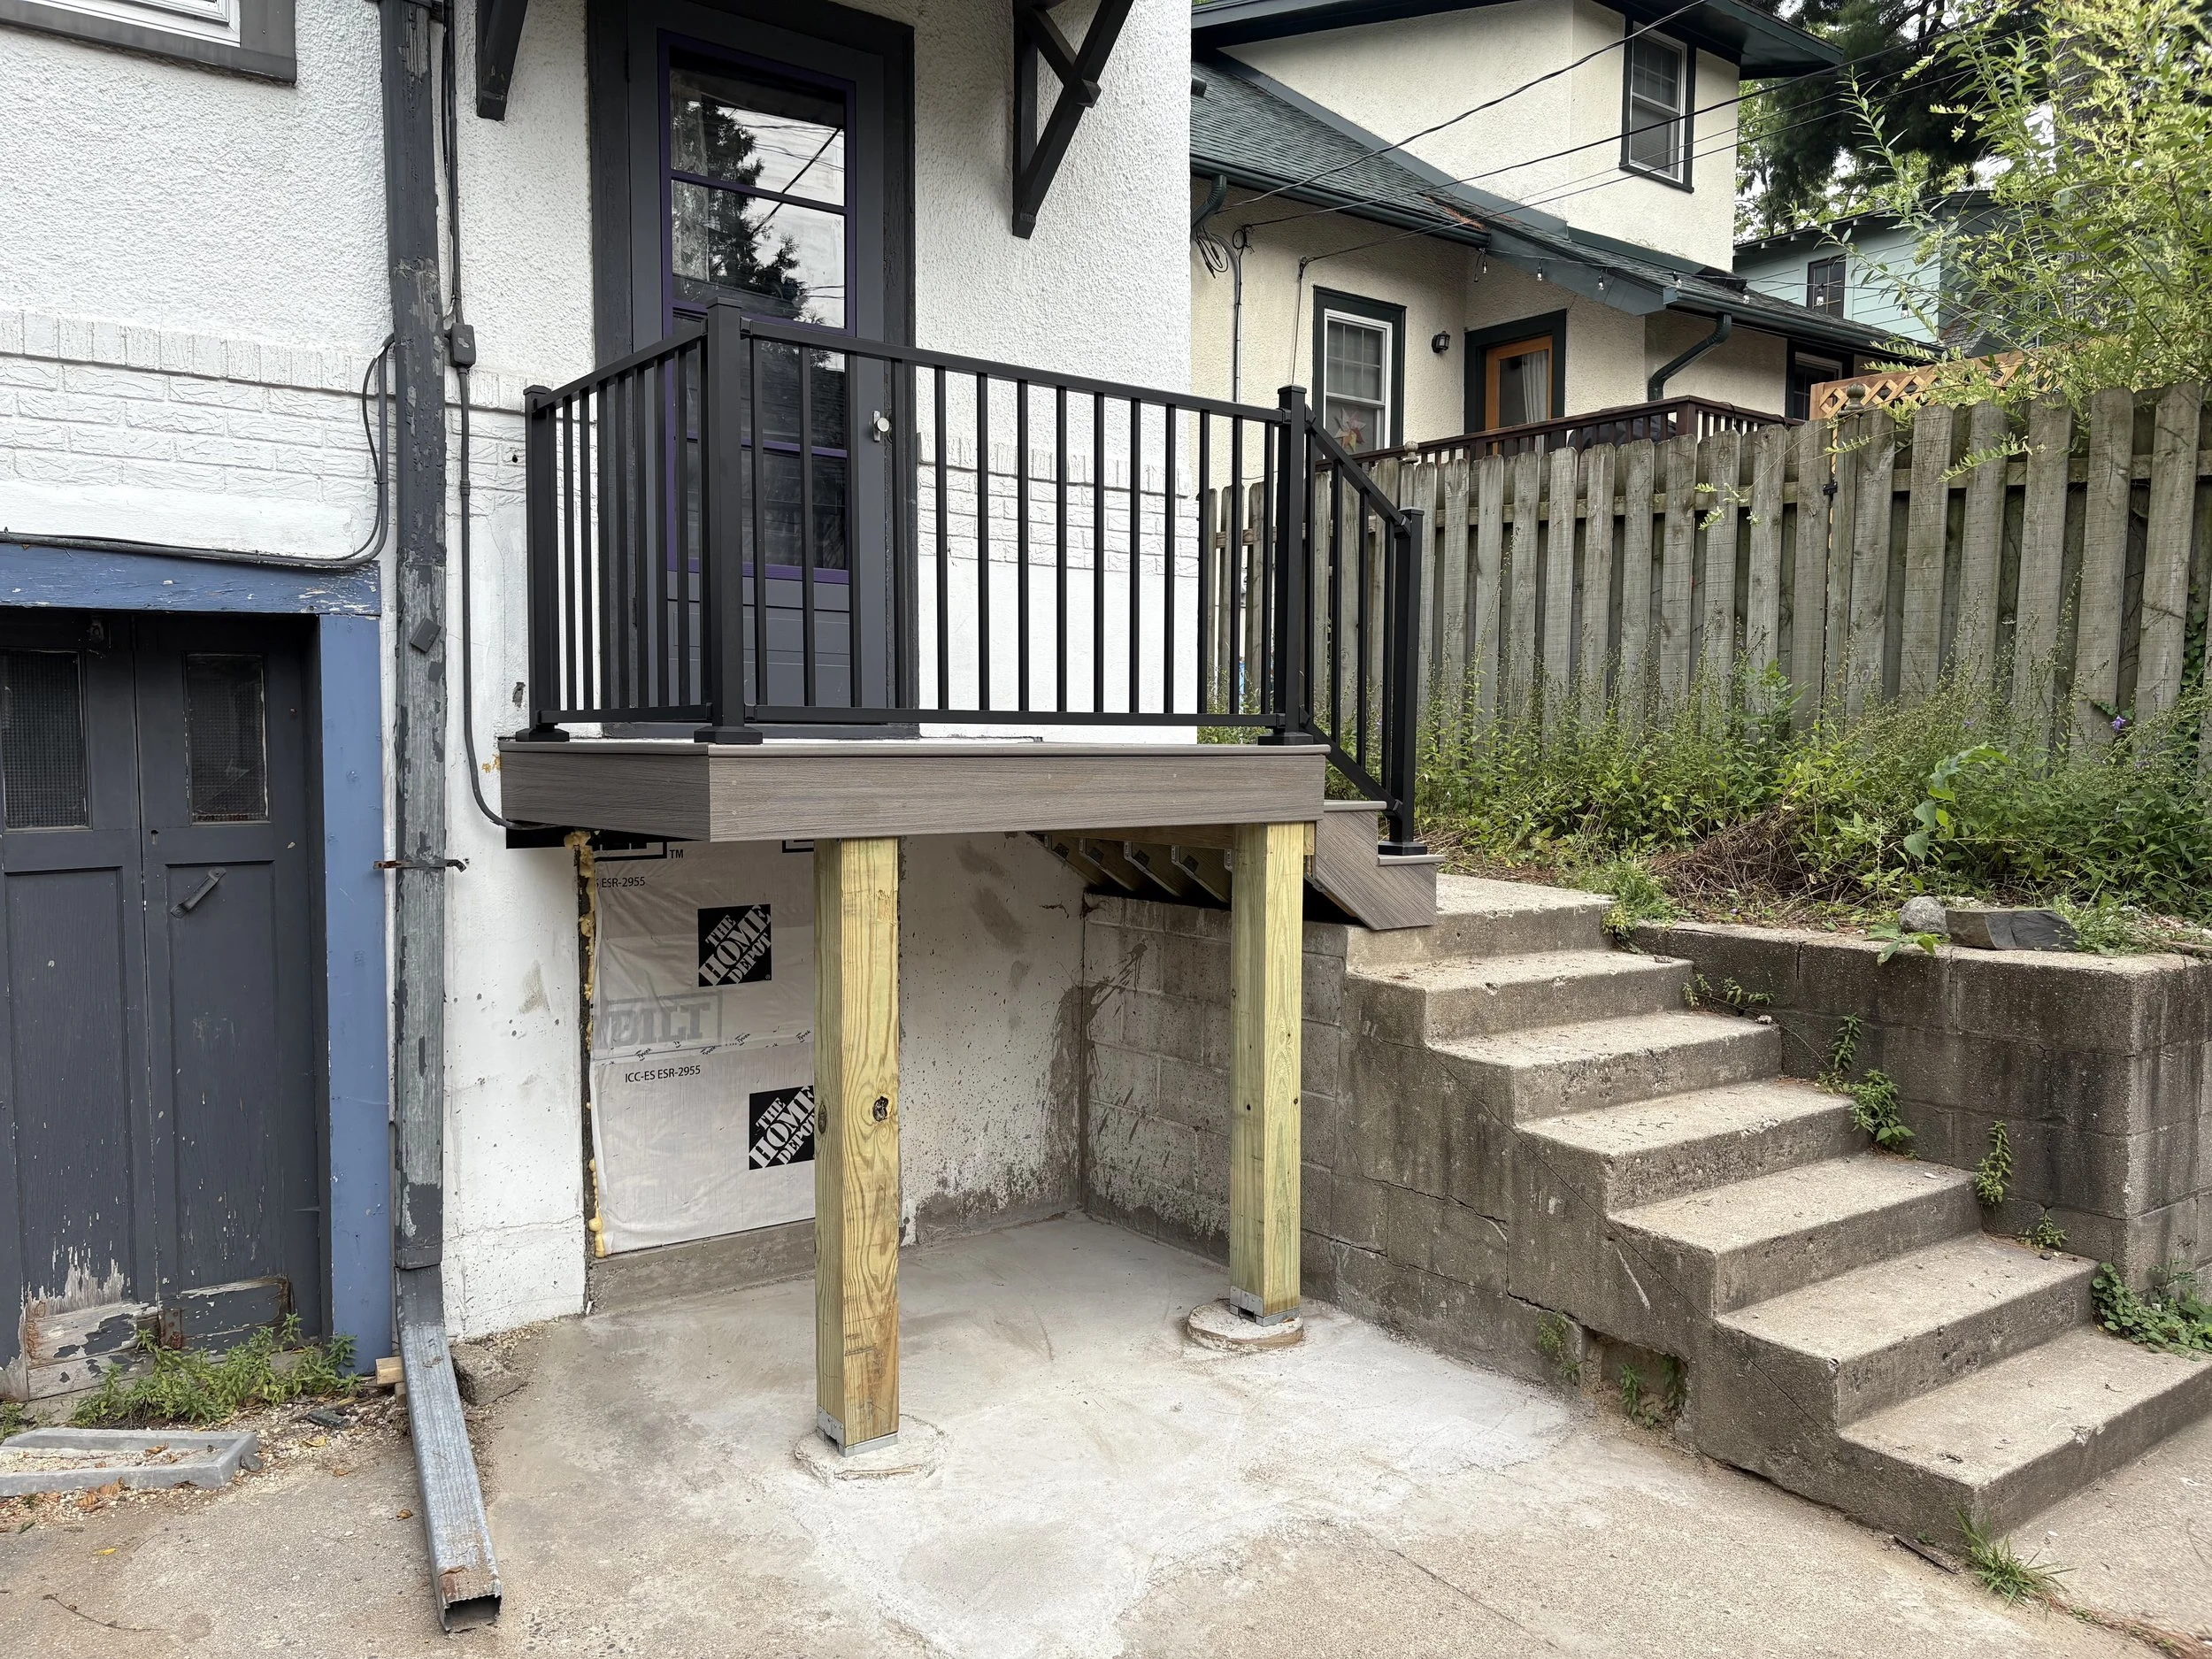
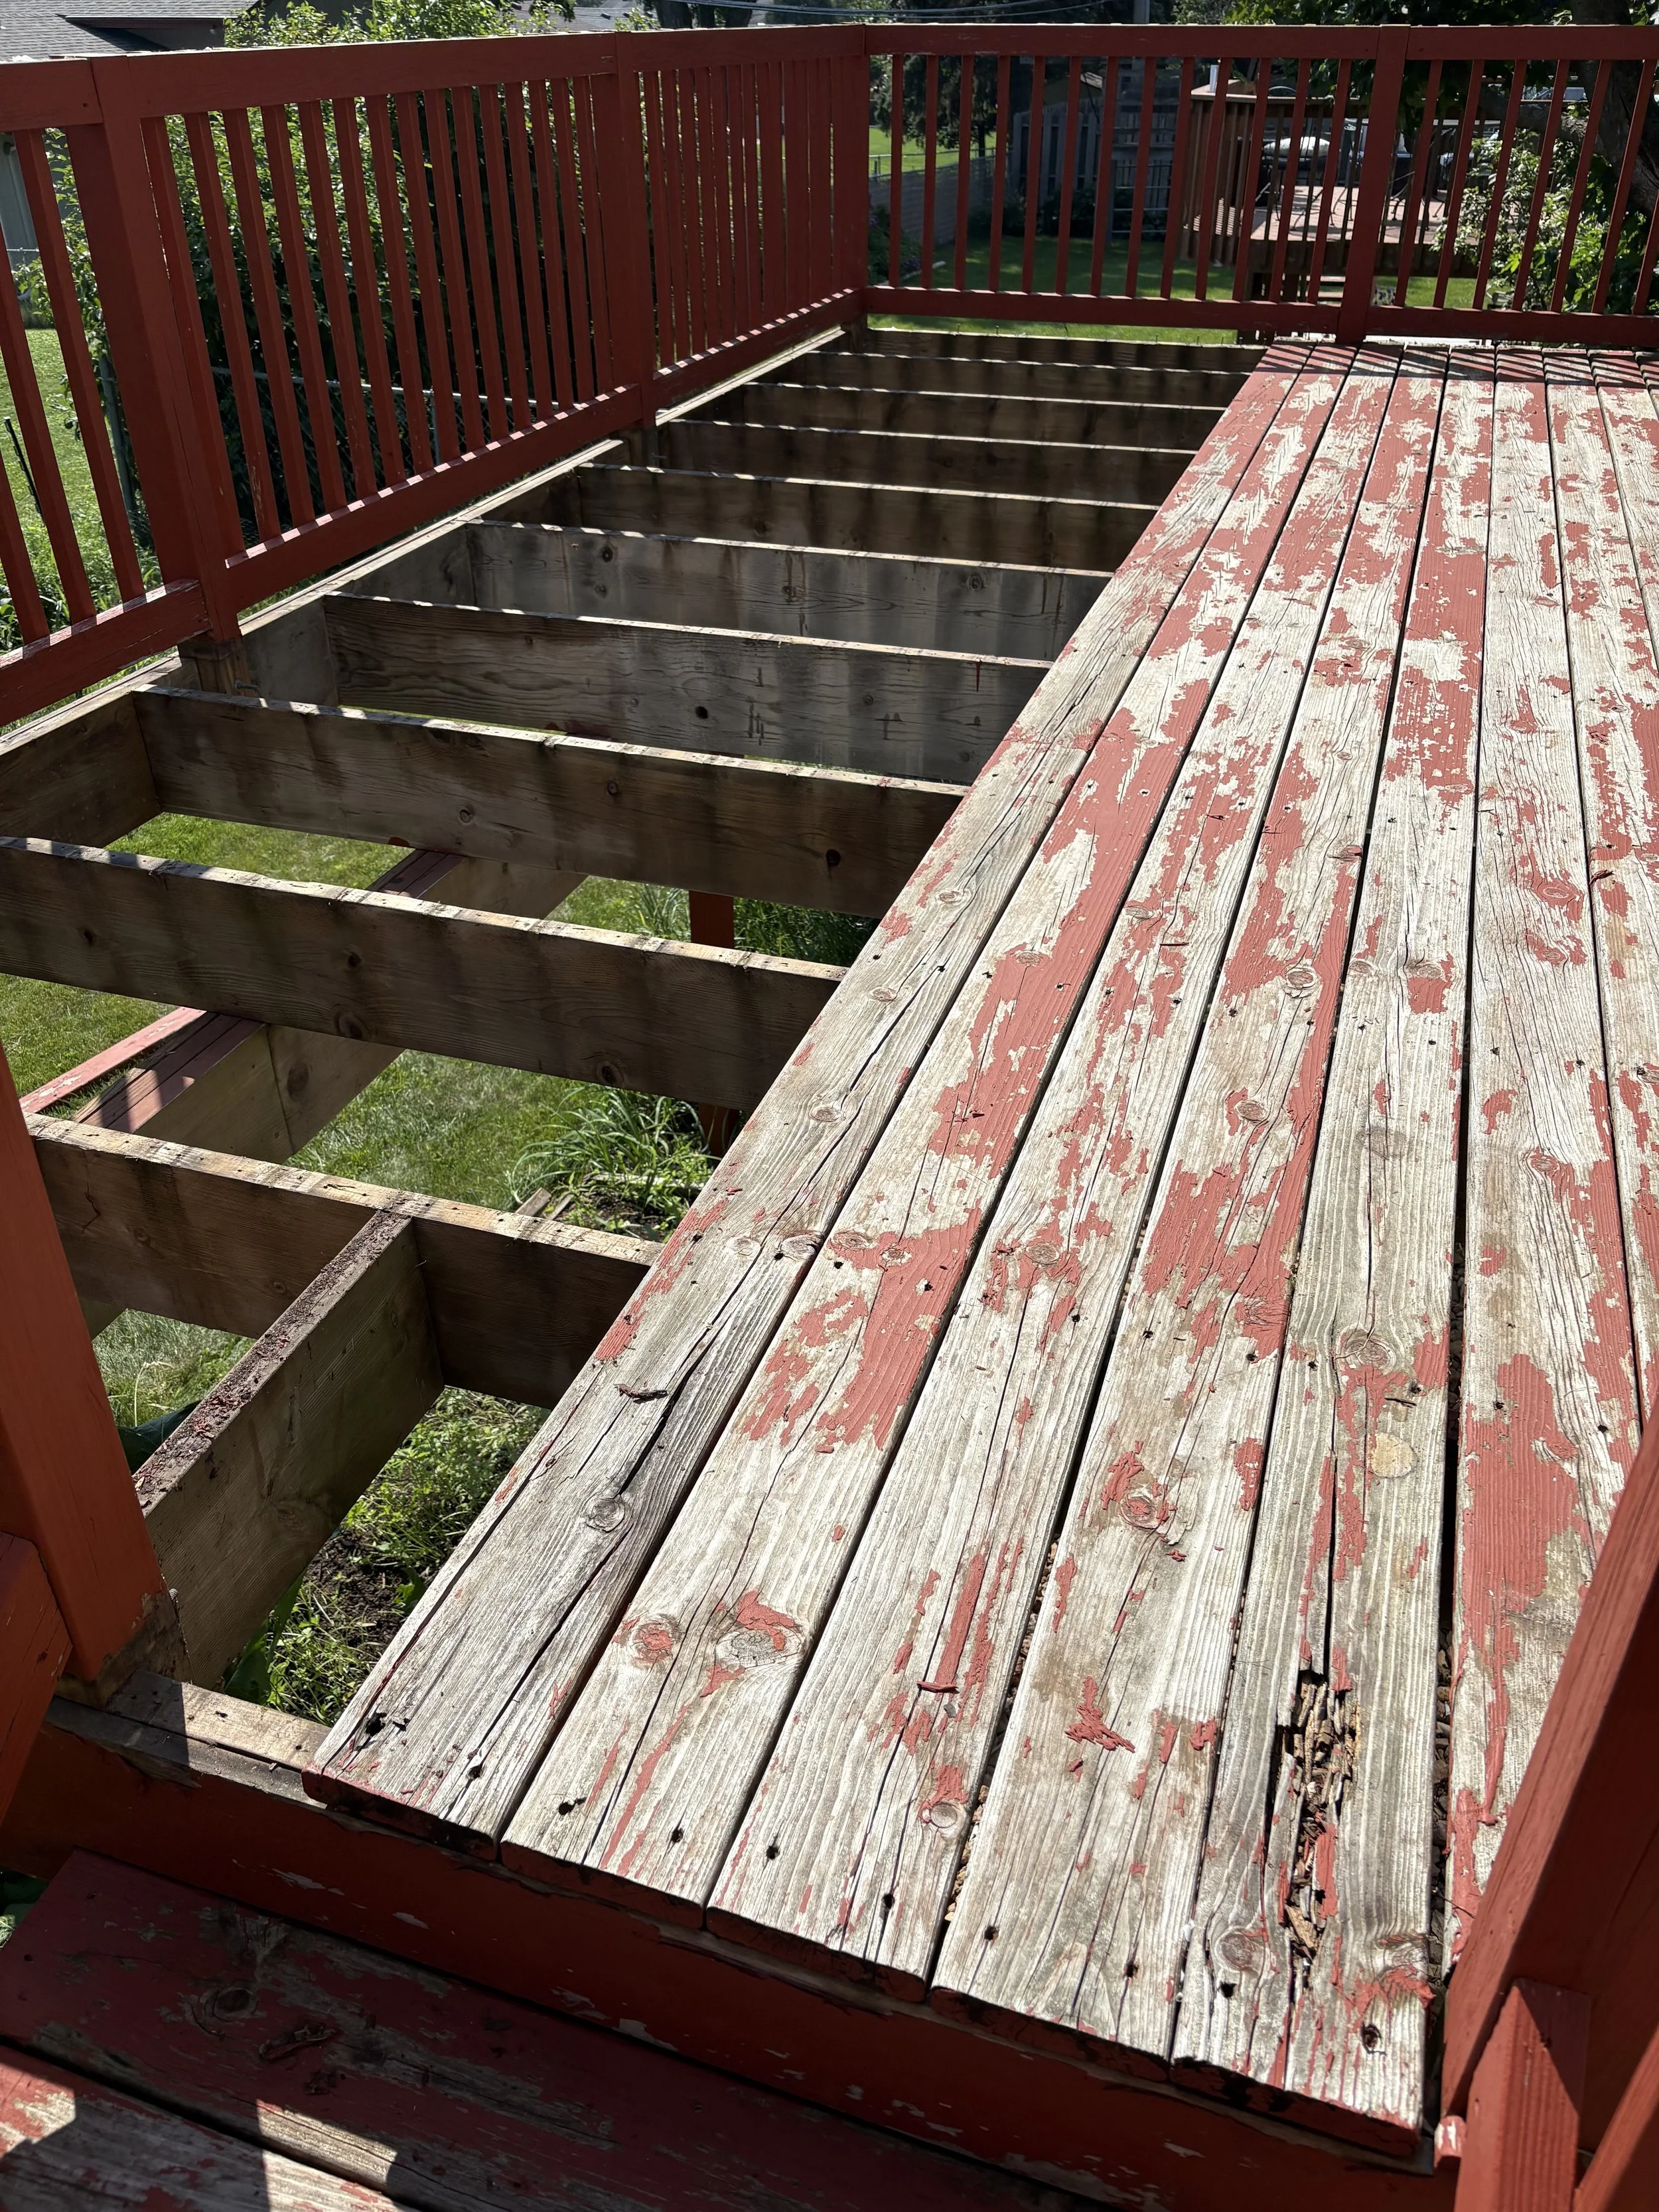
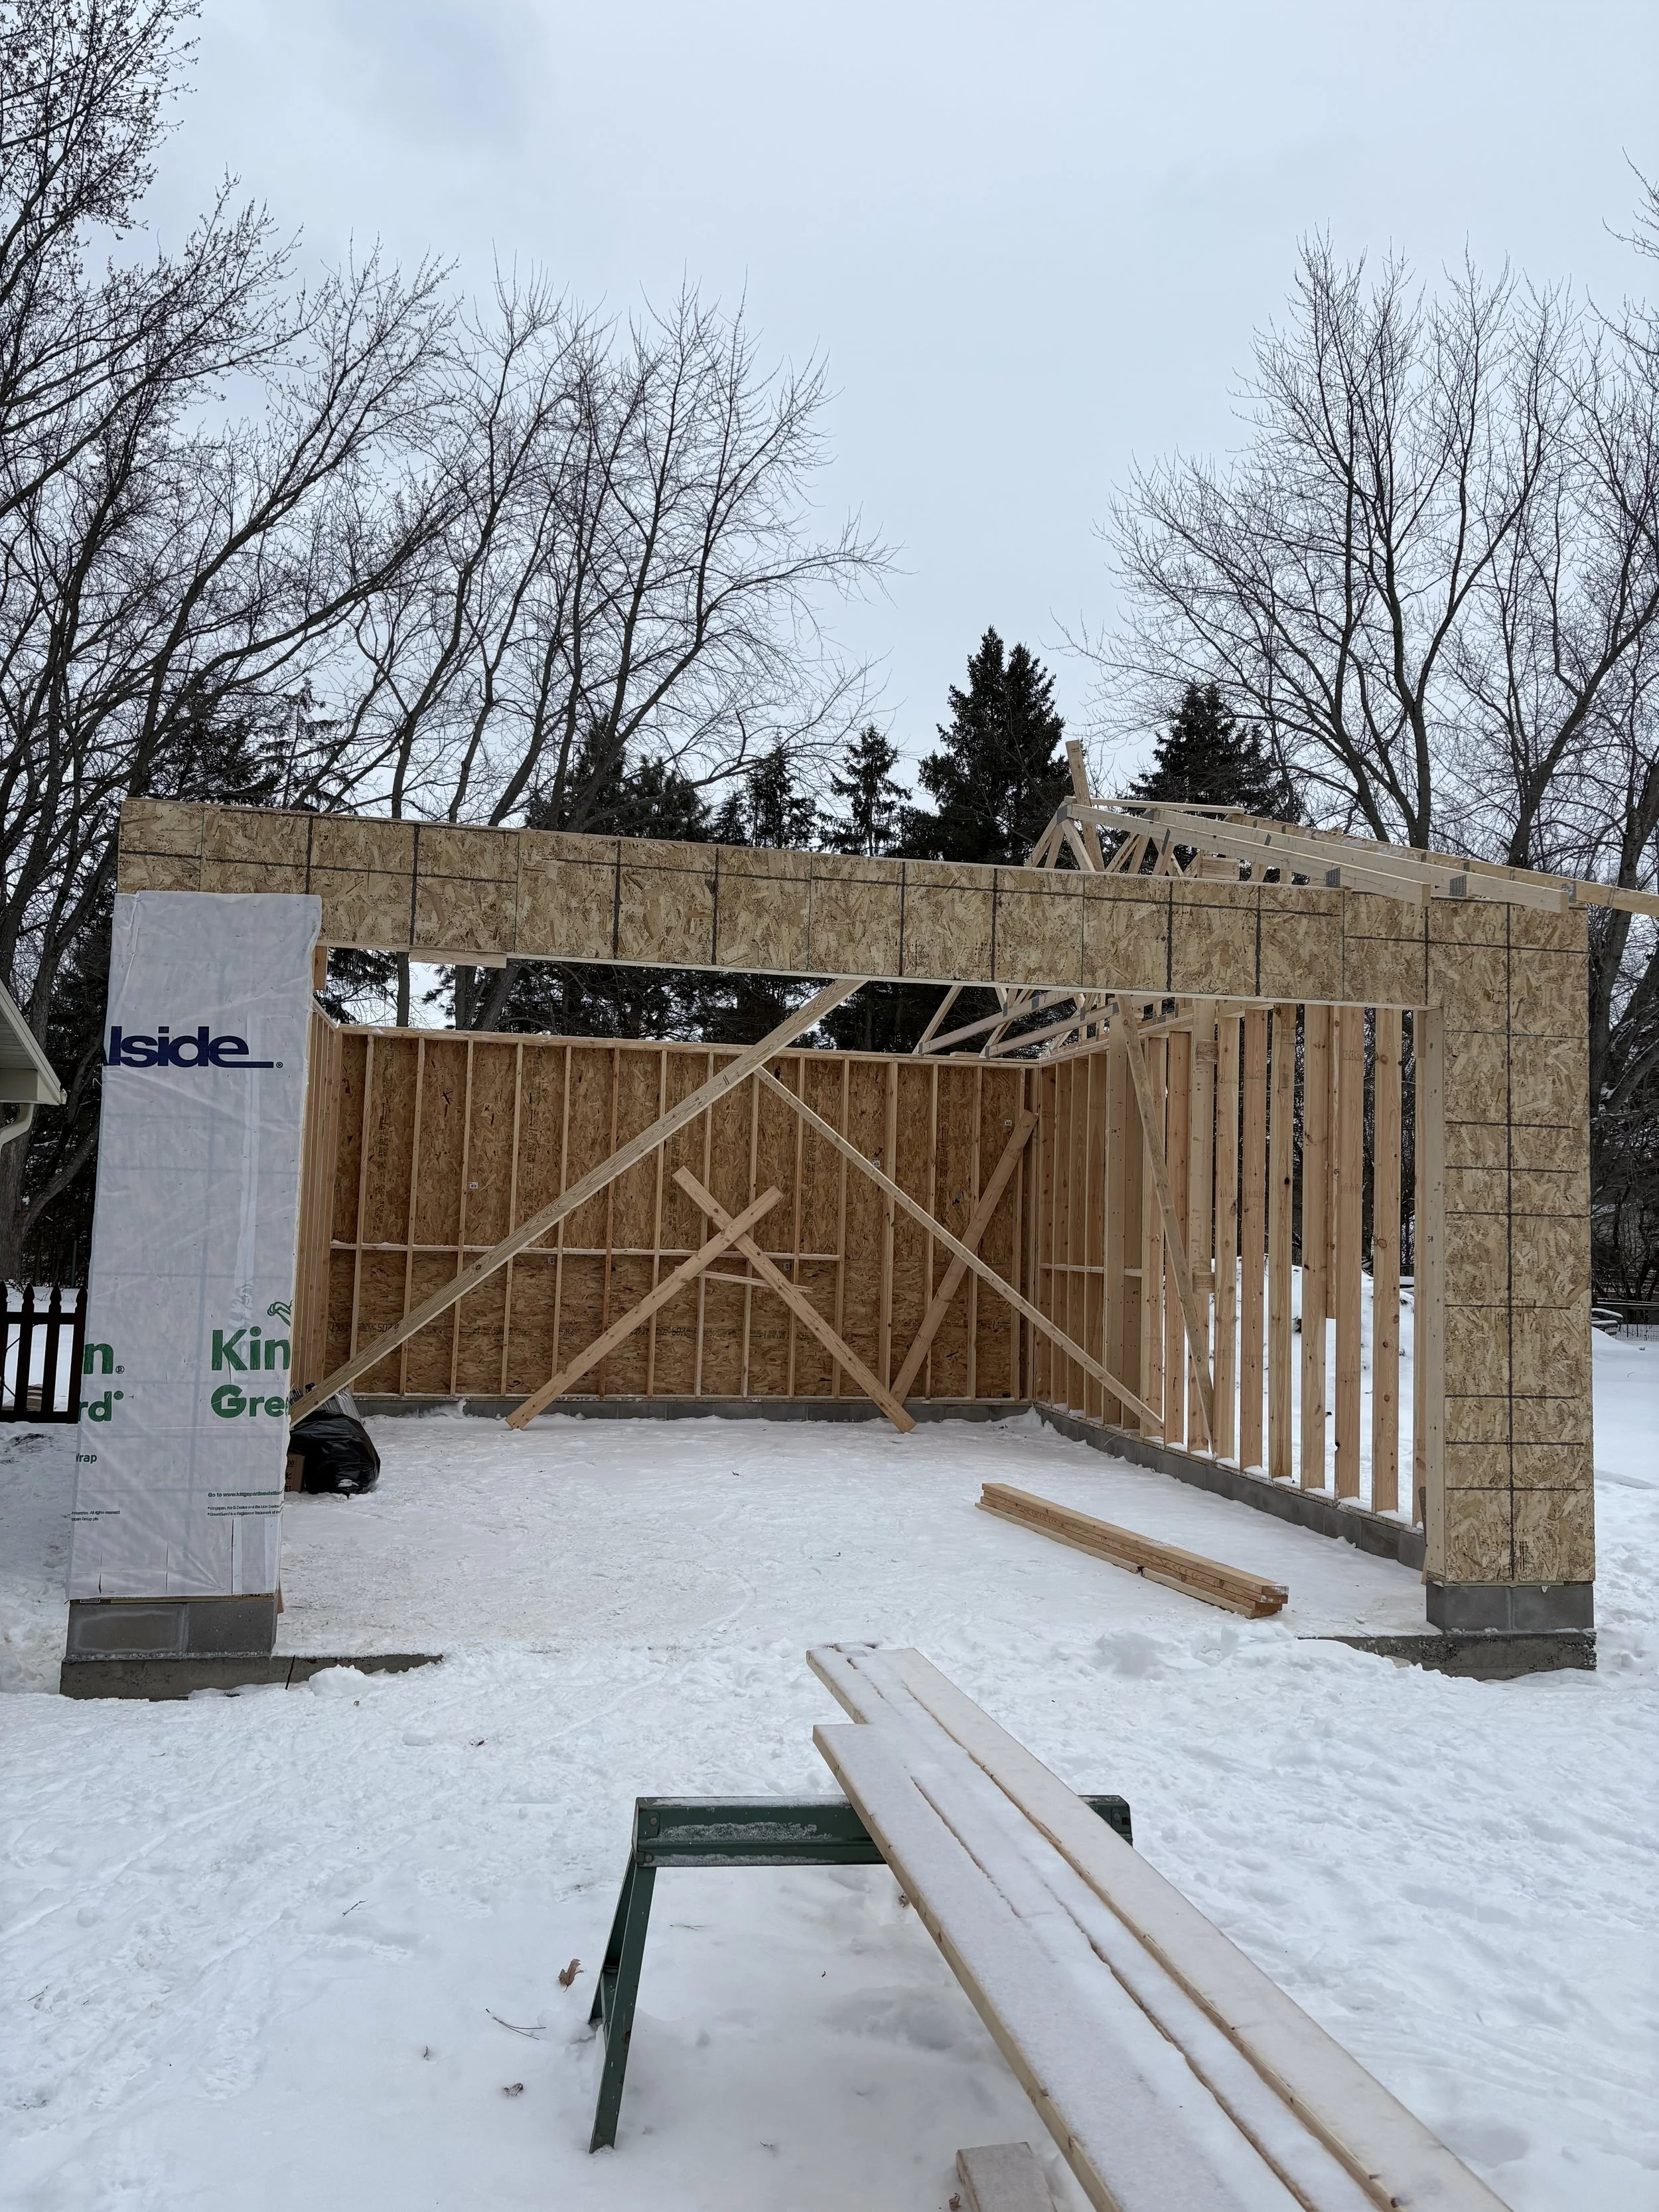
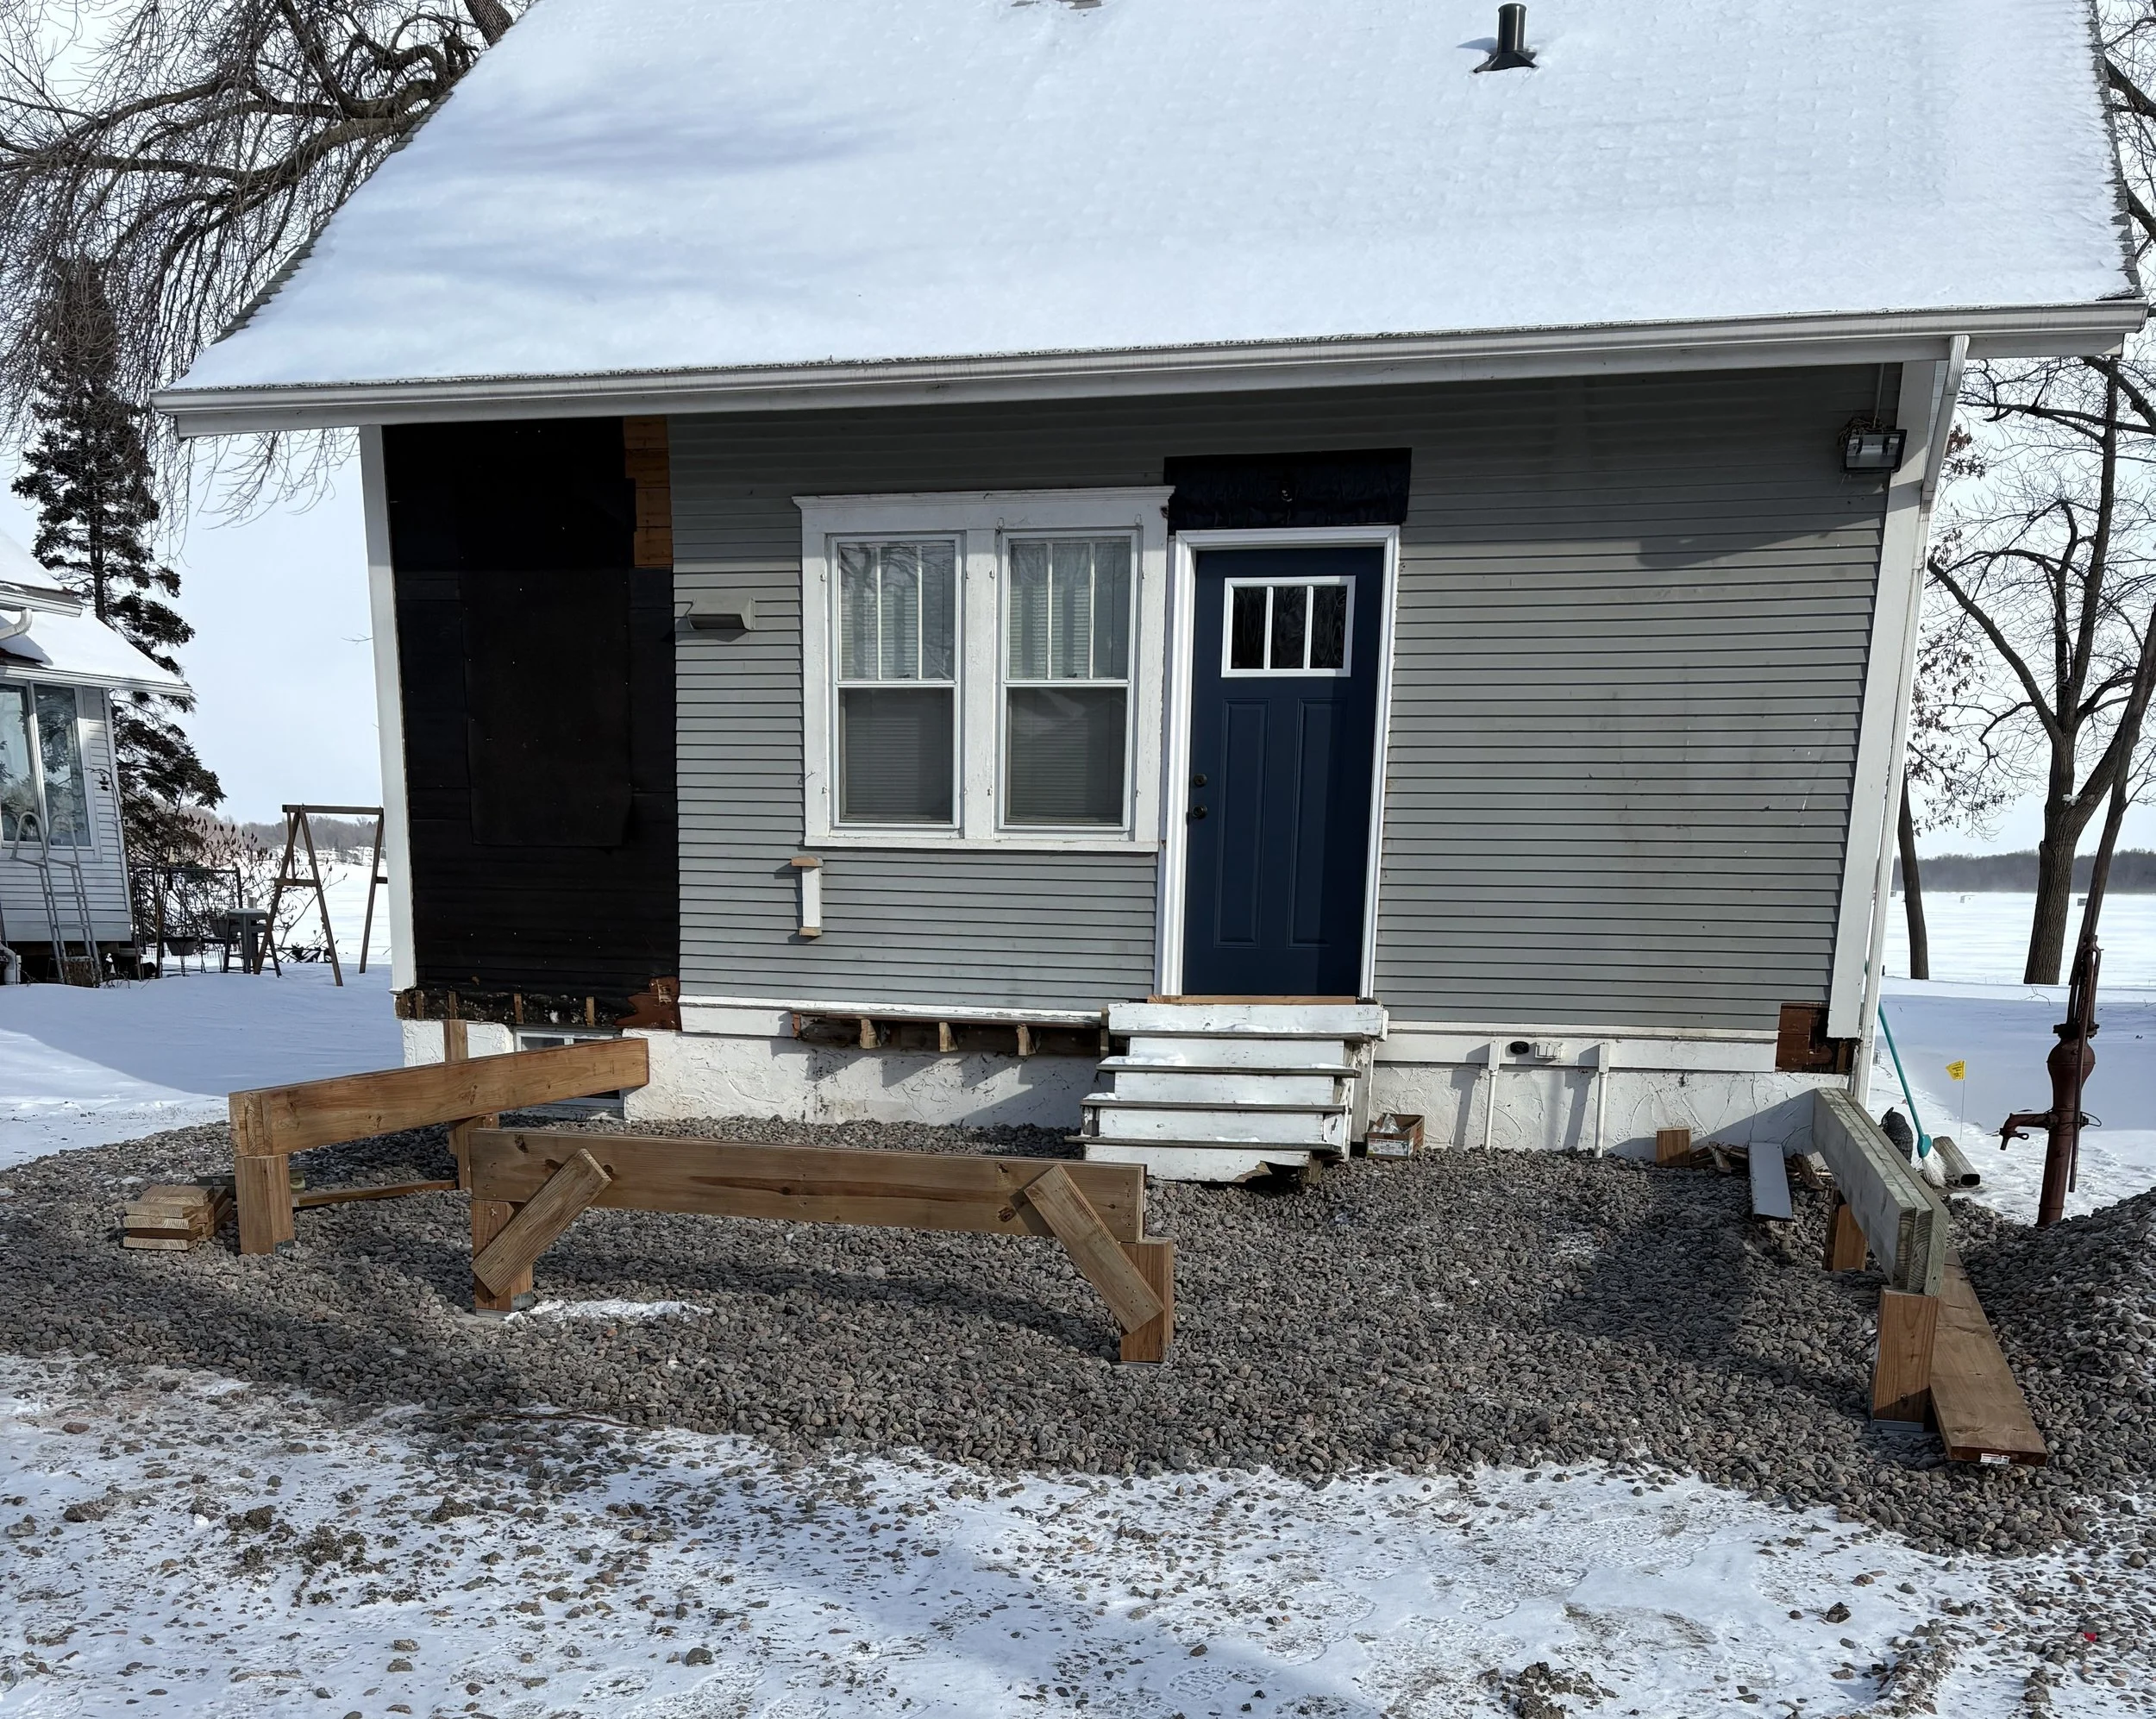
BEFORE
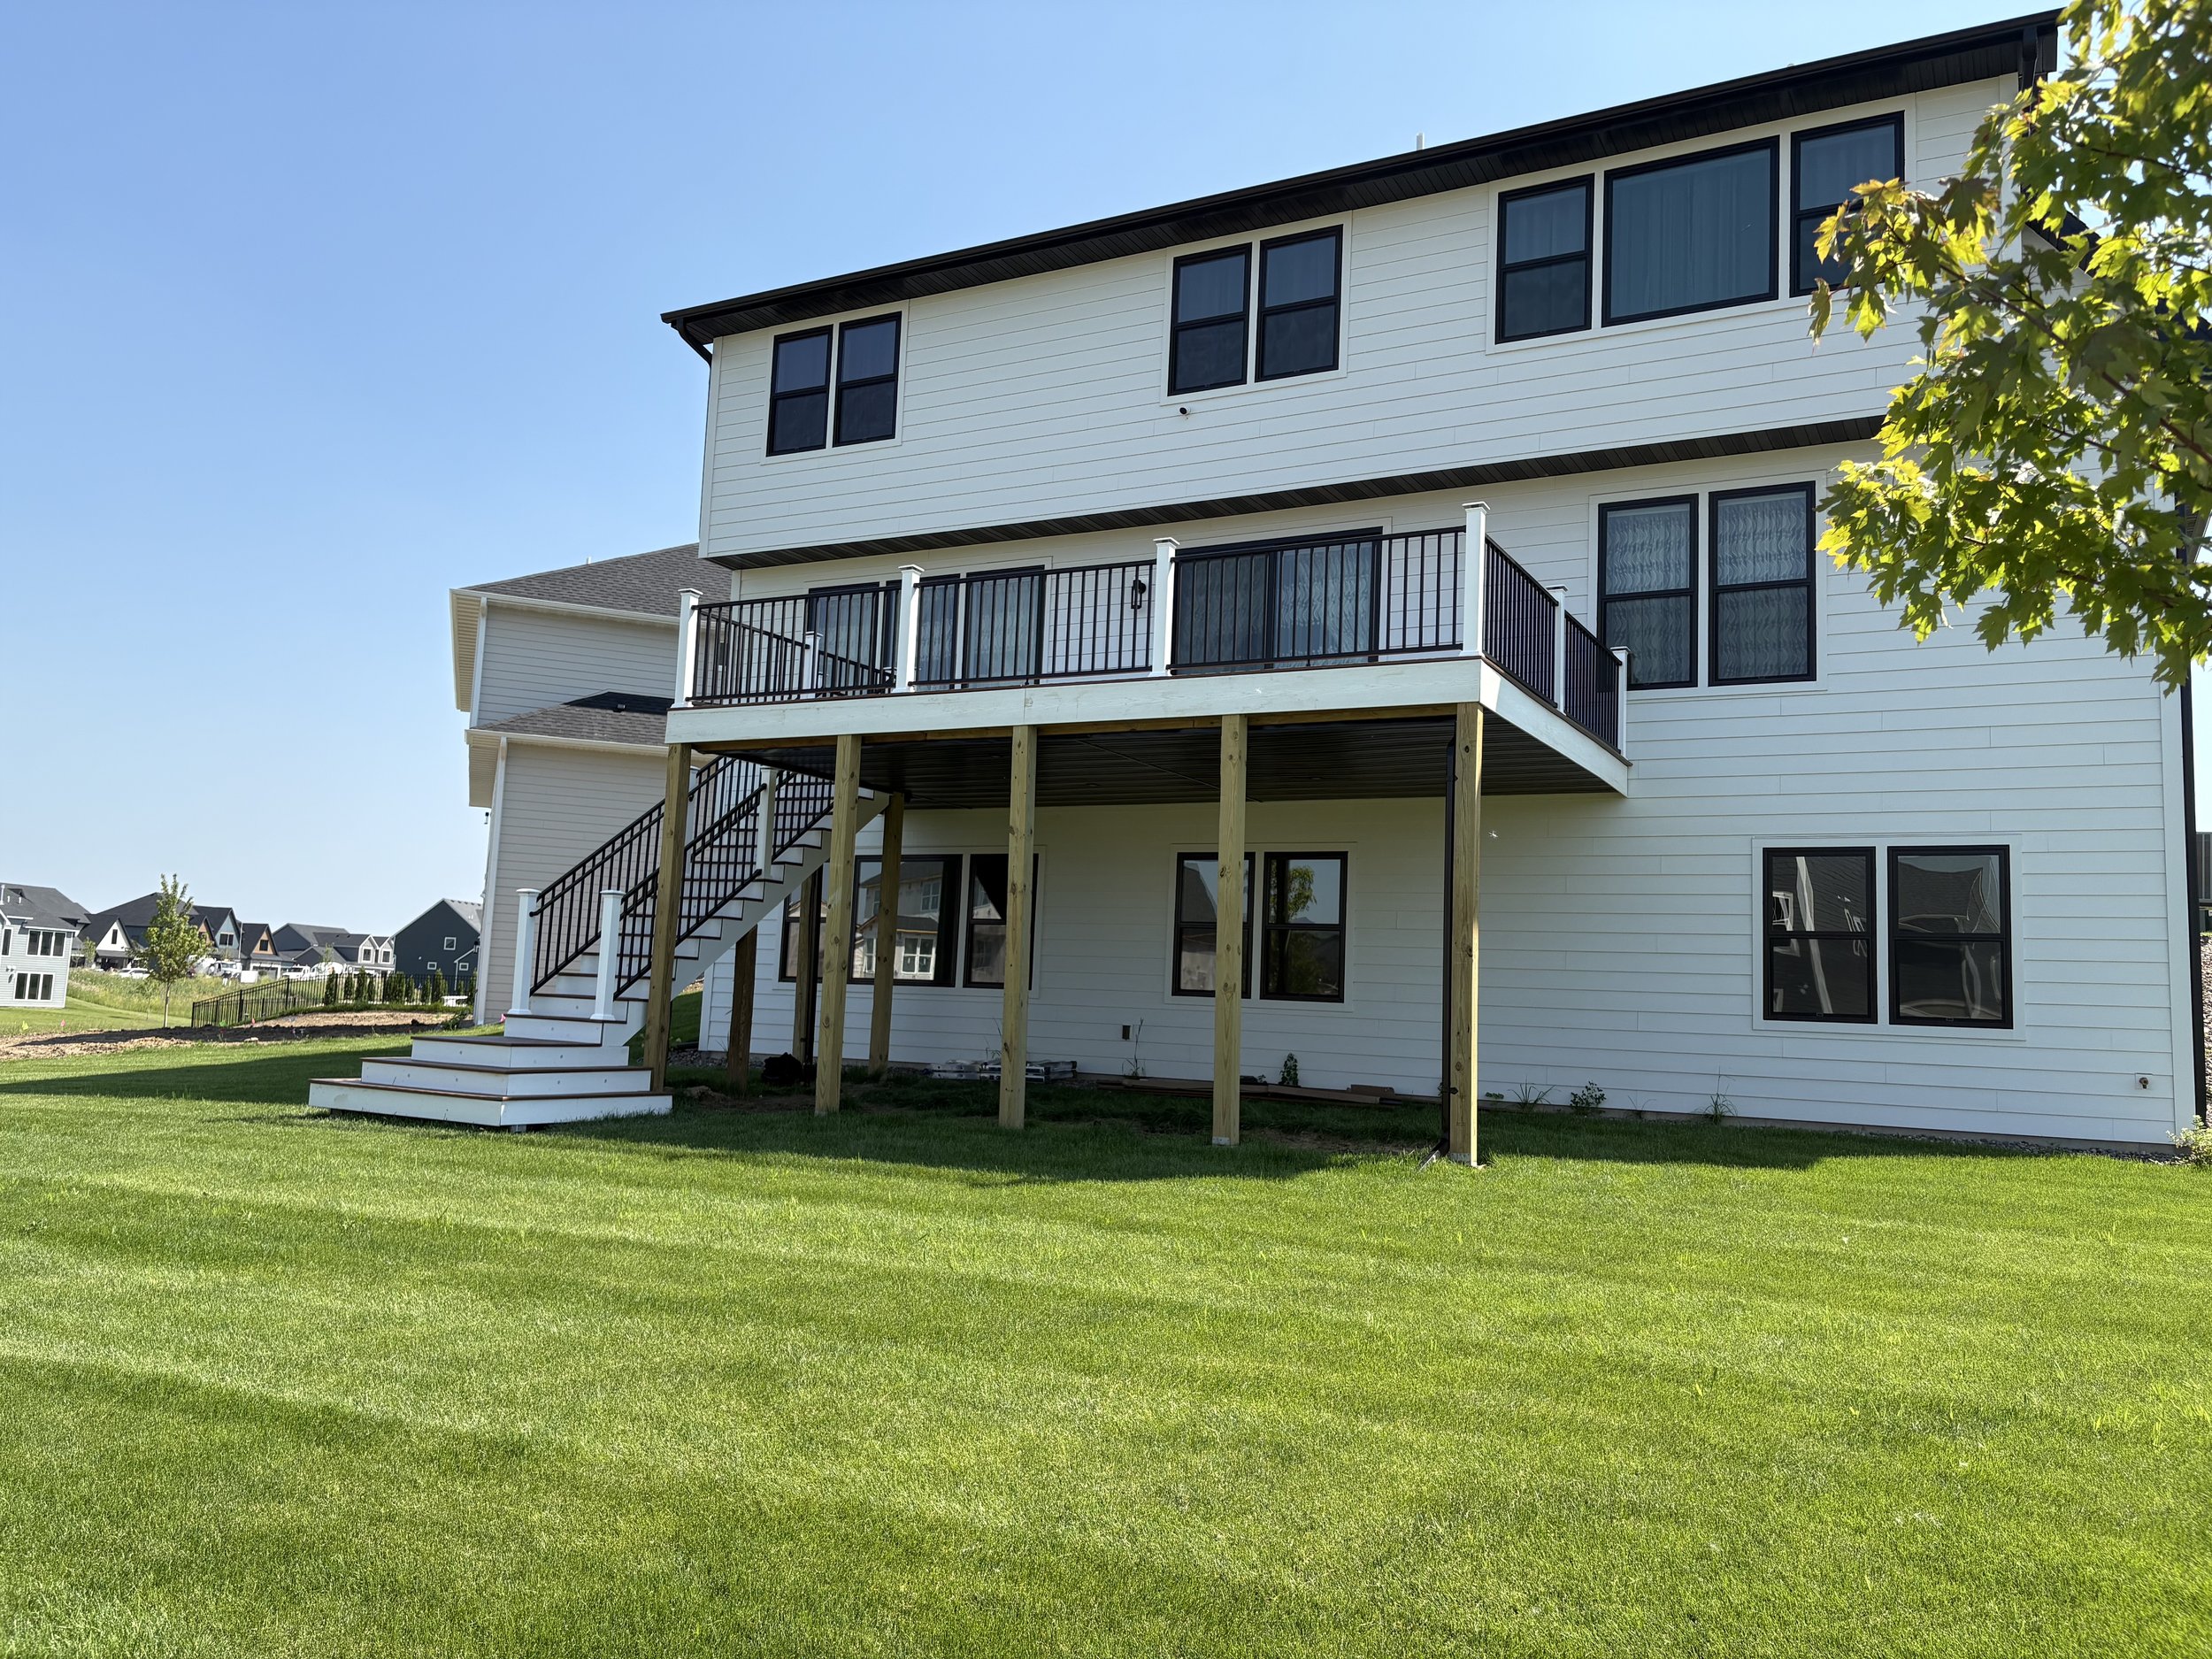
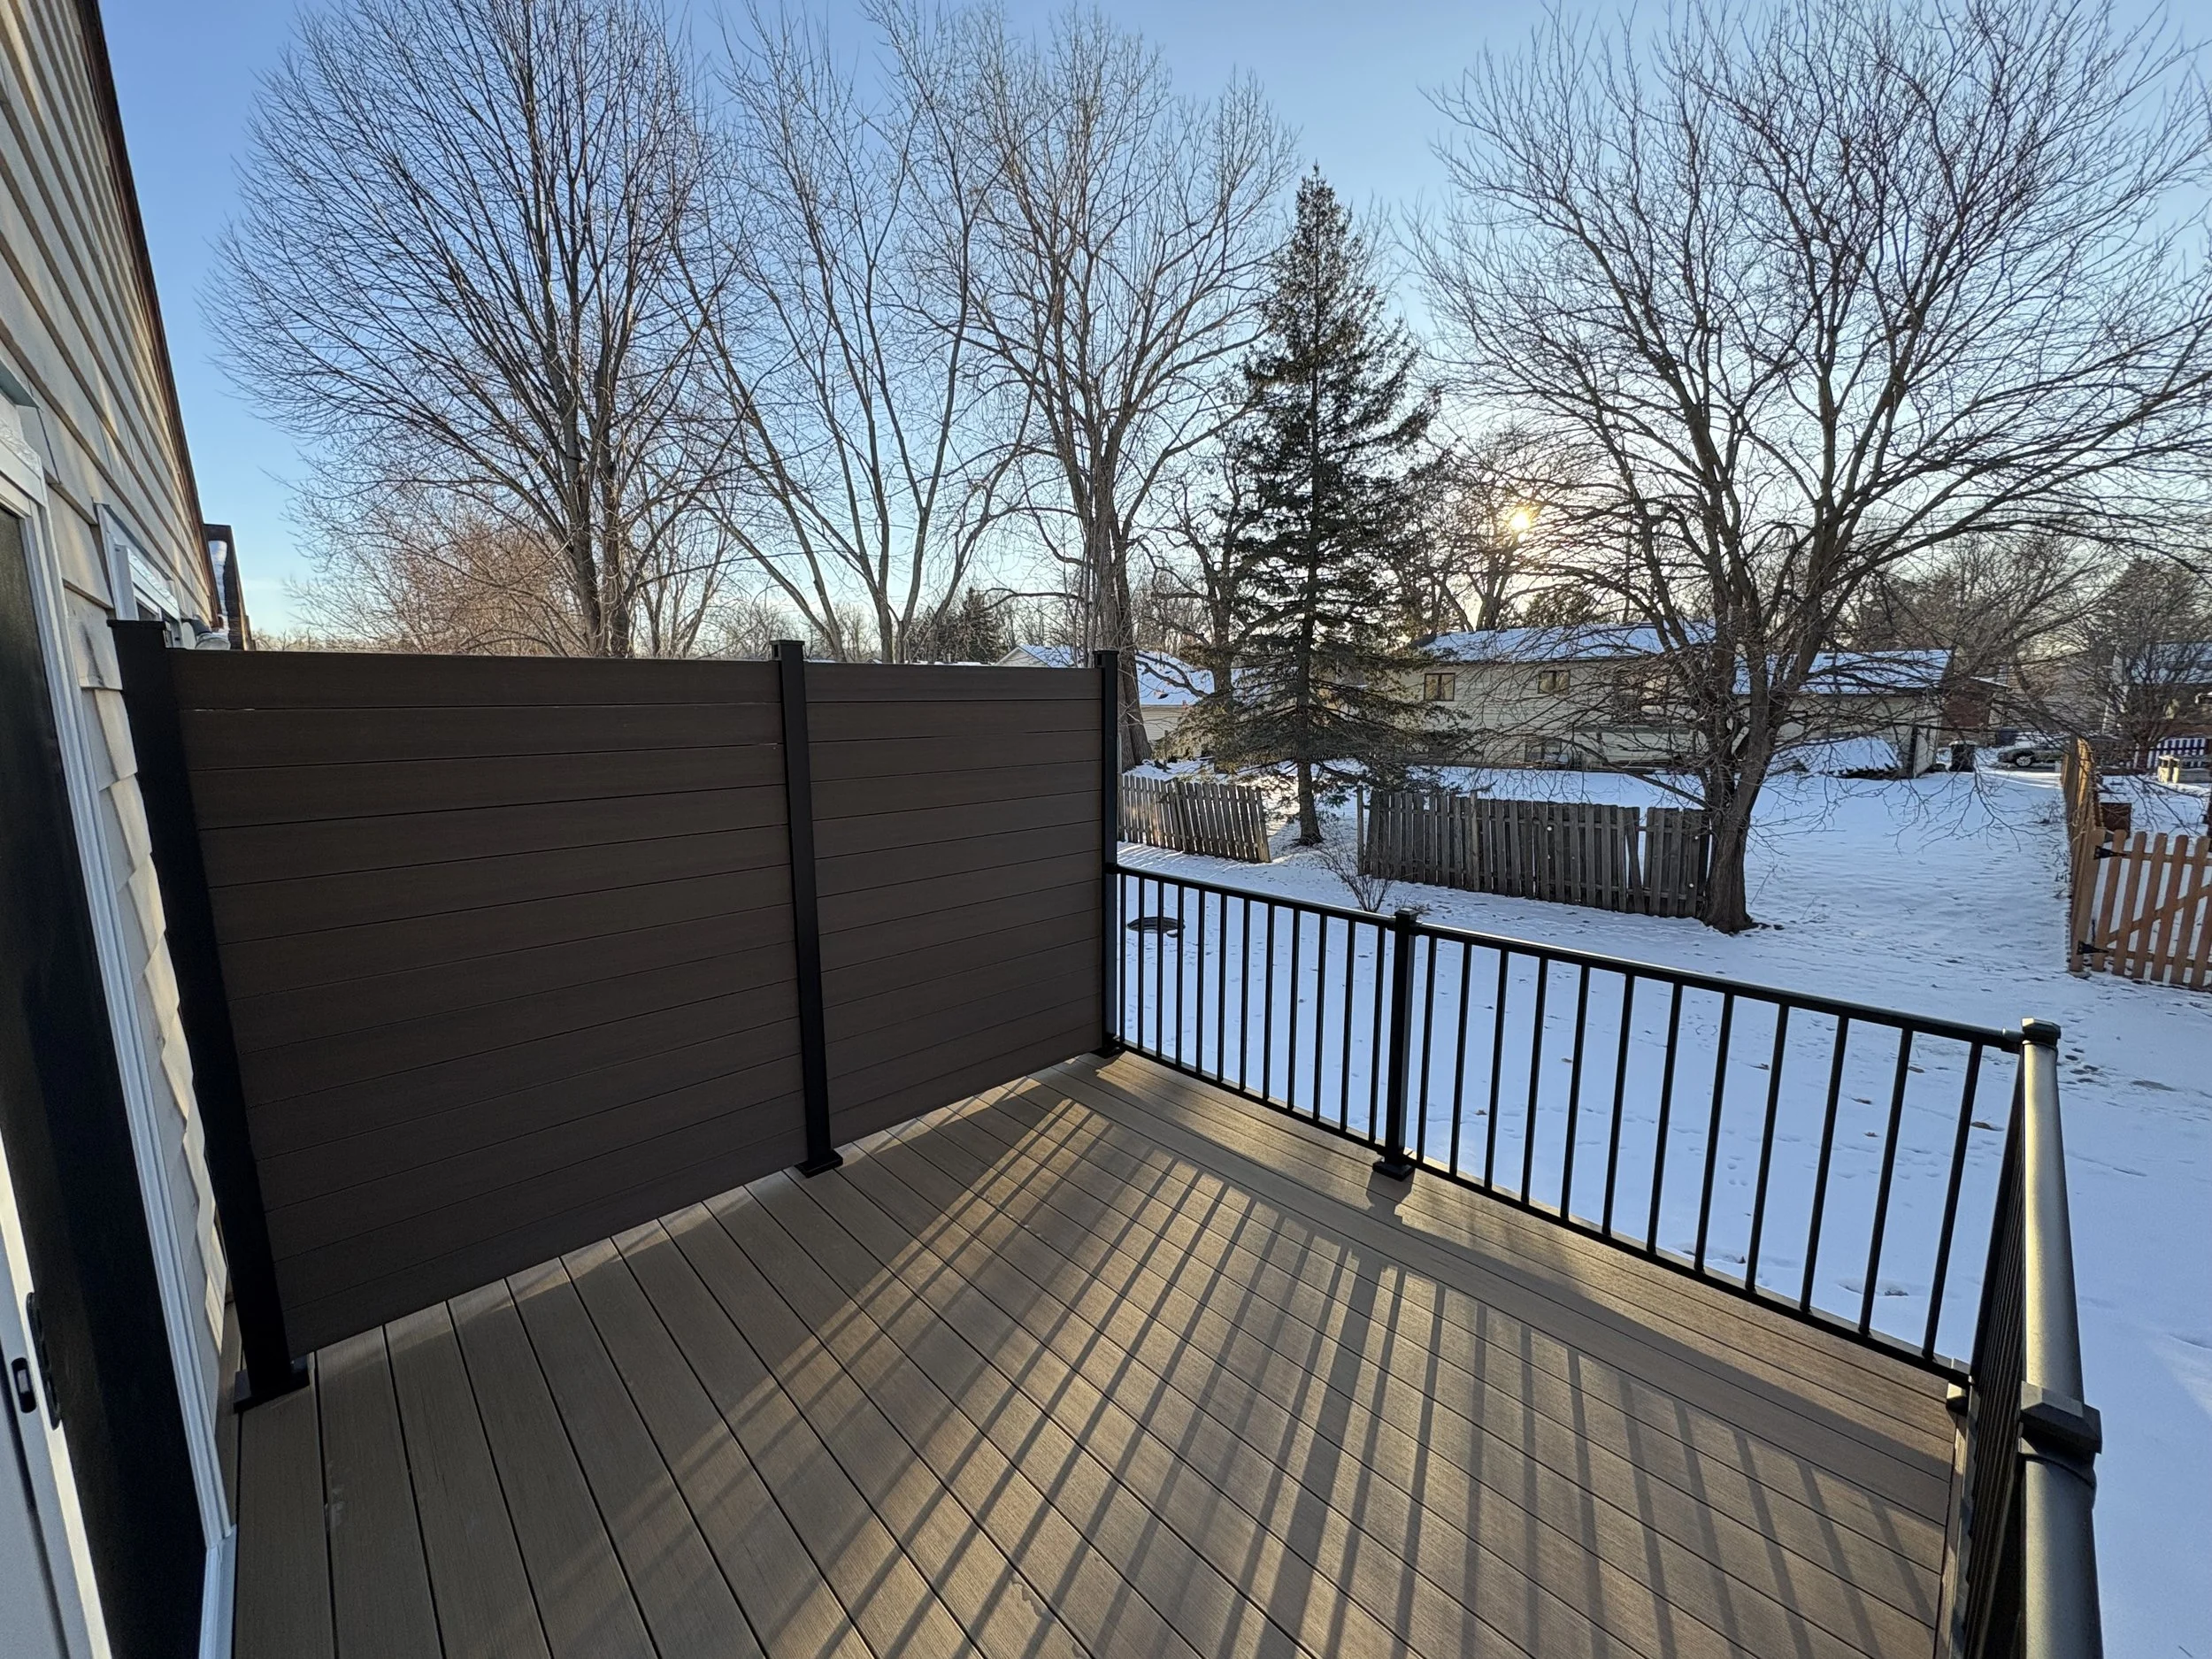
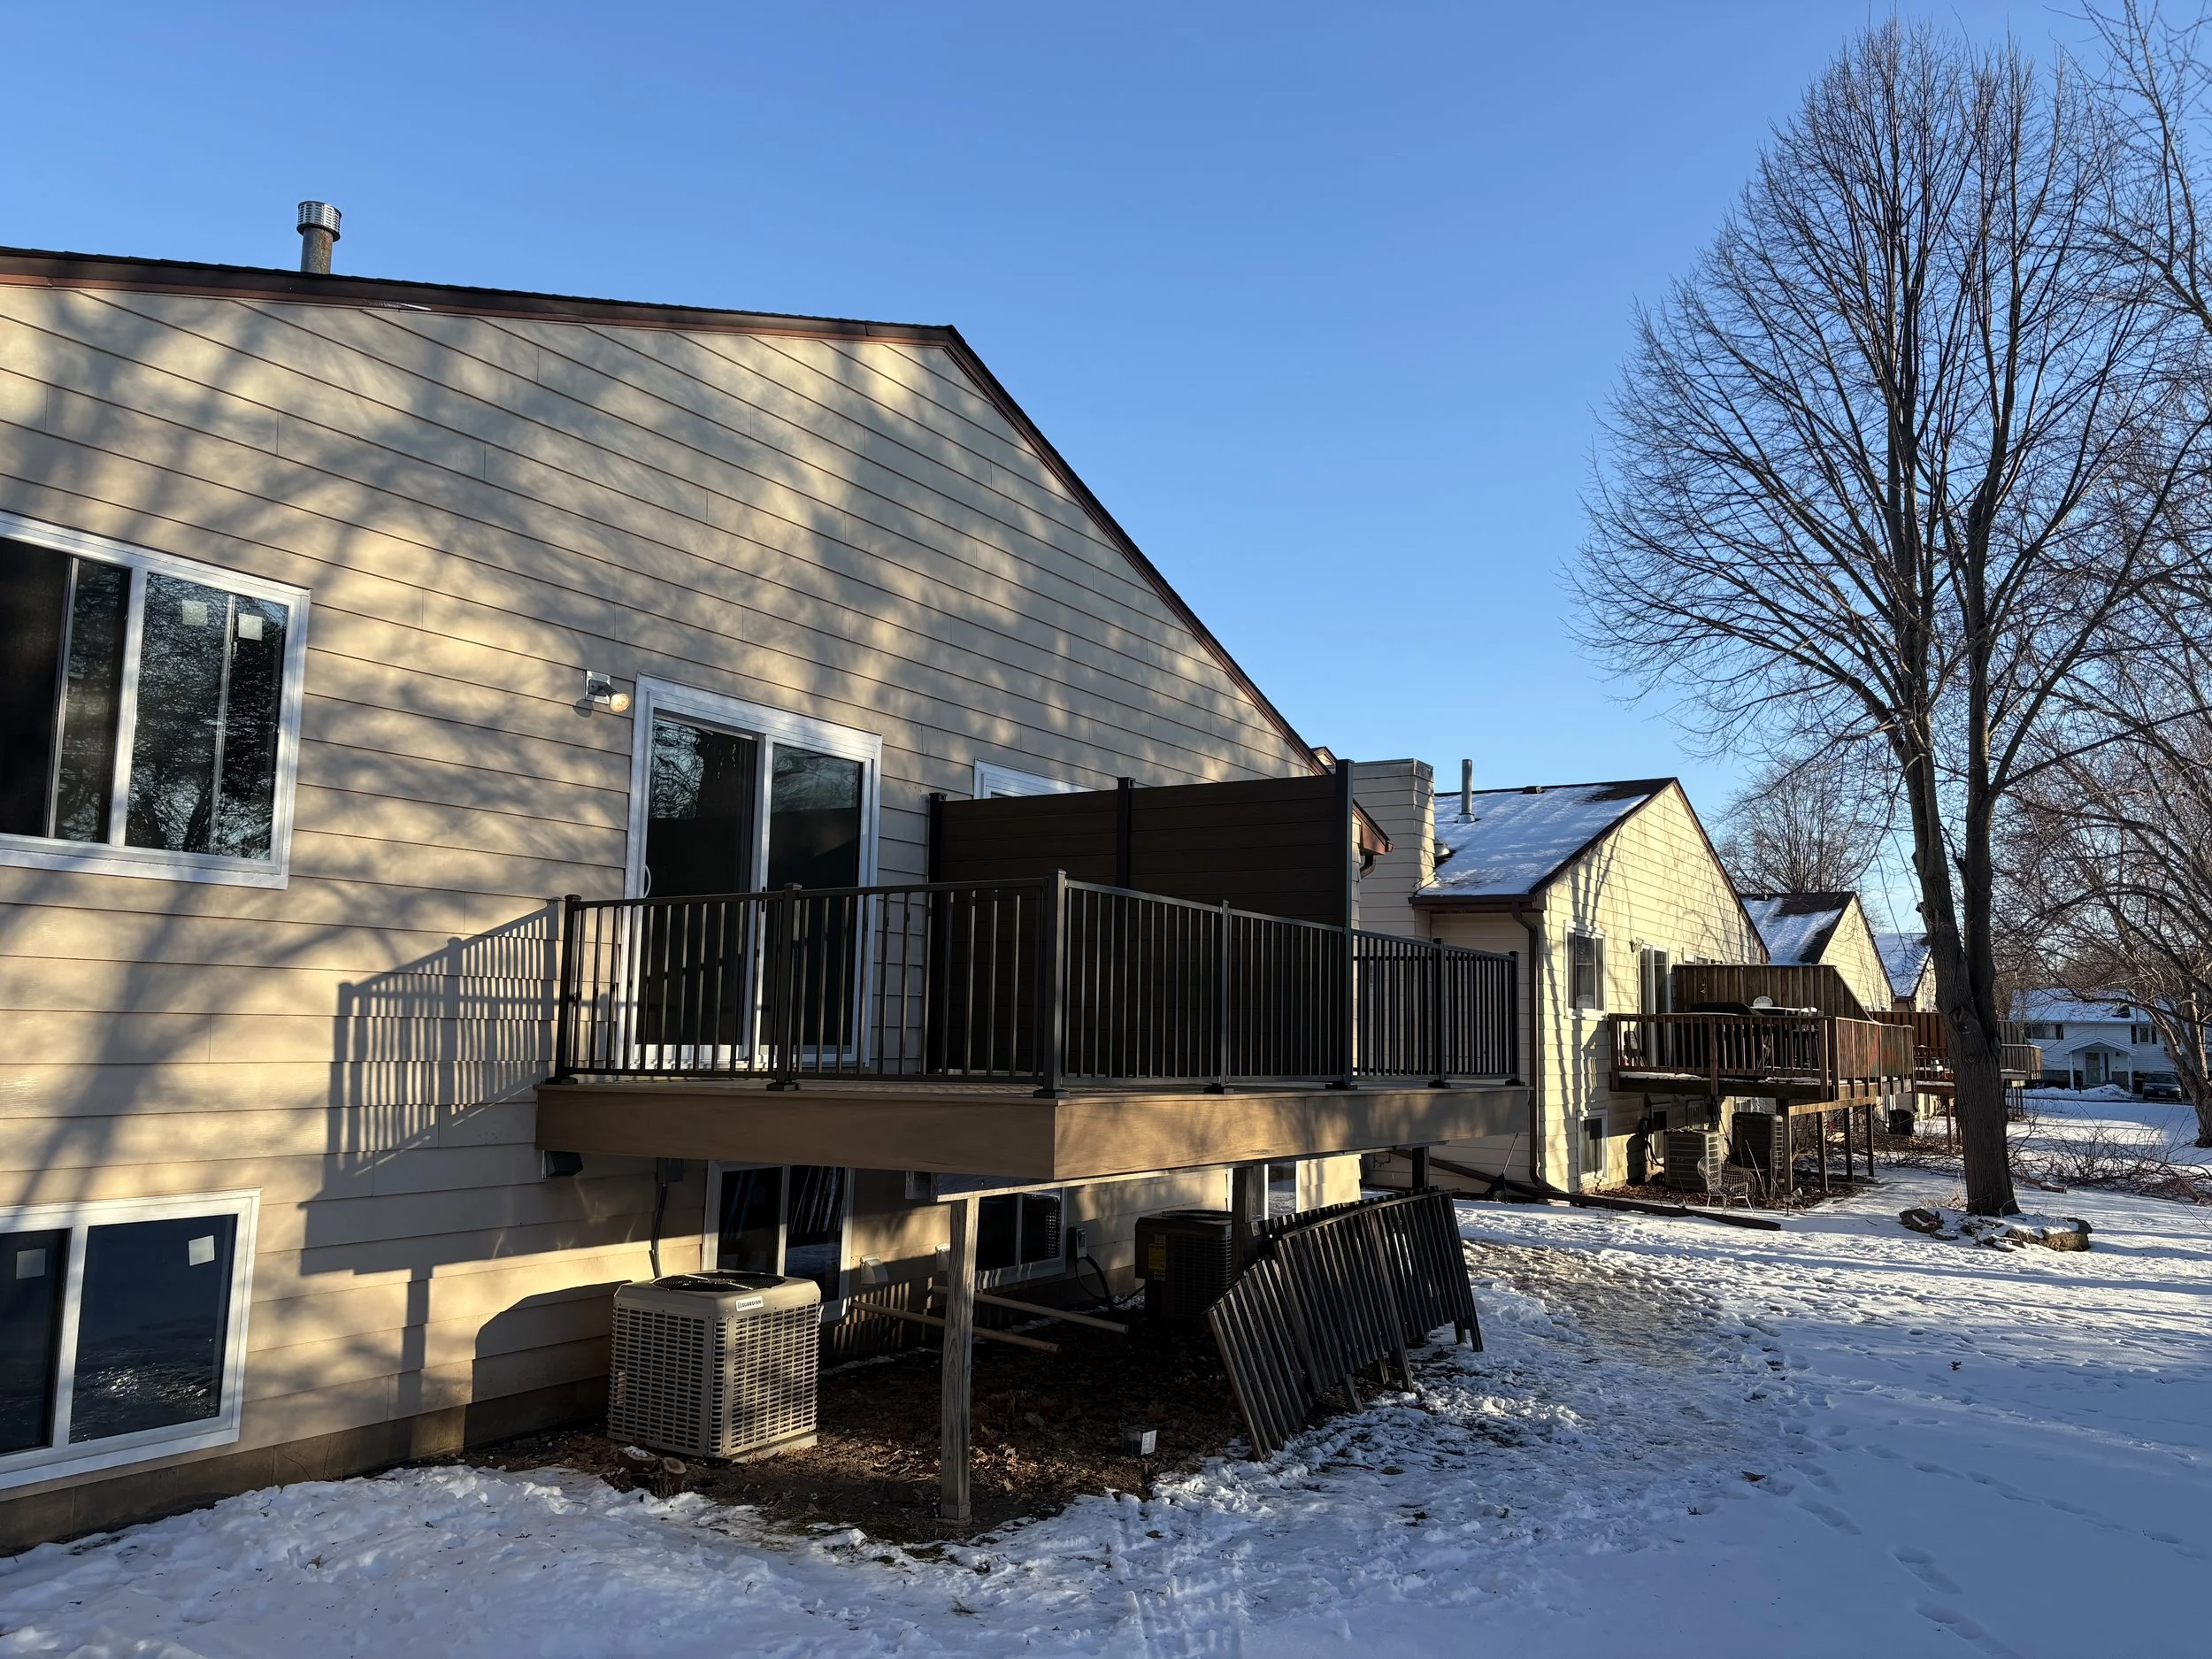
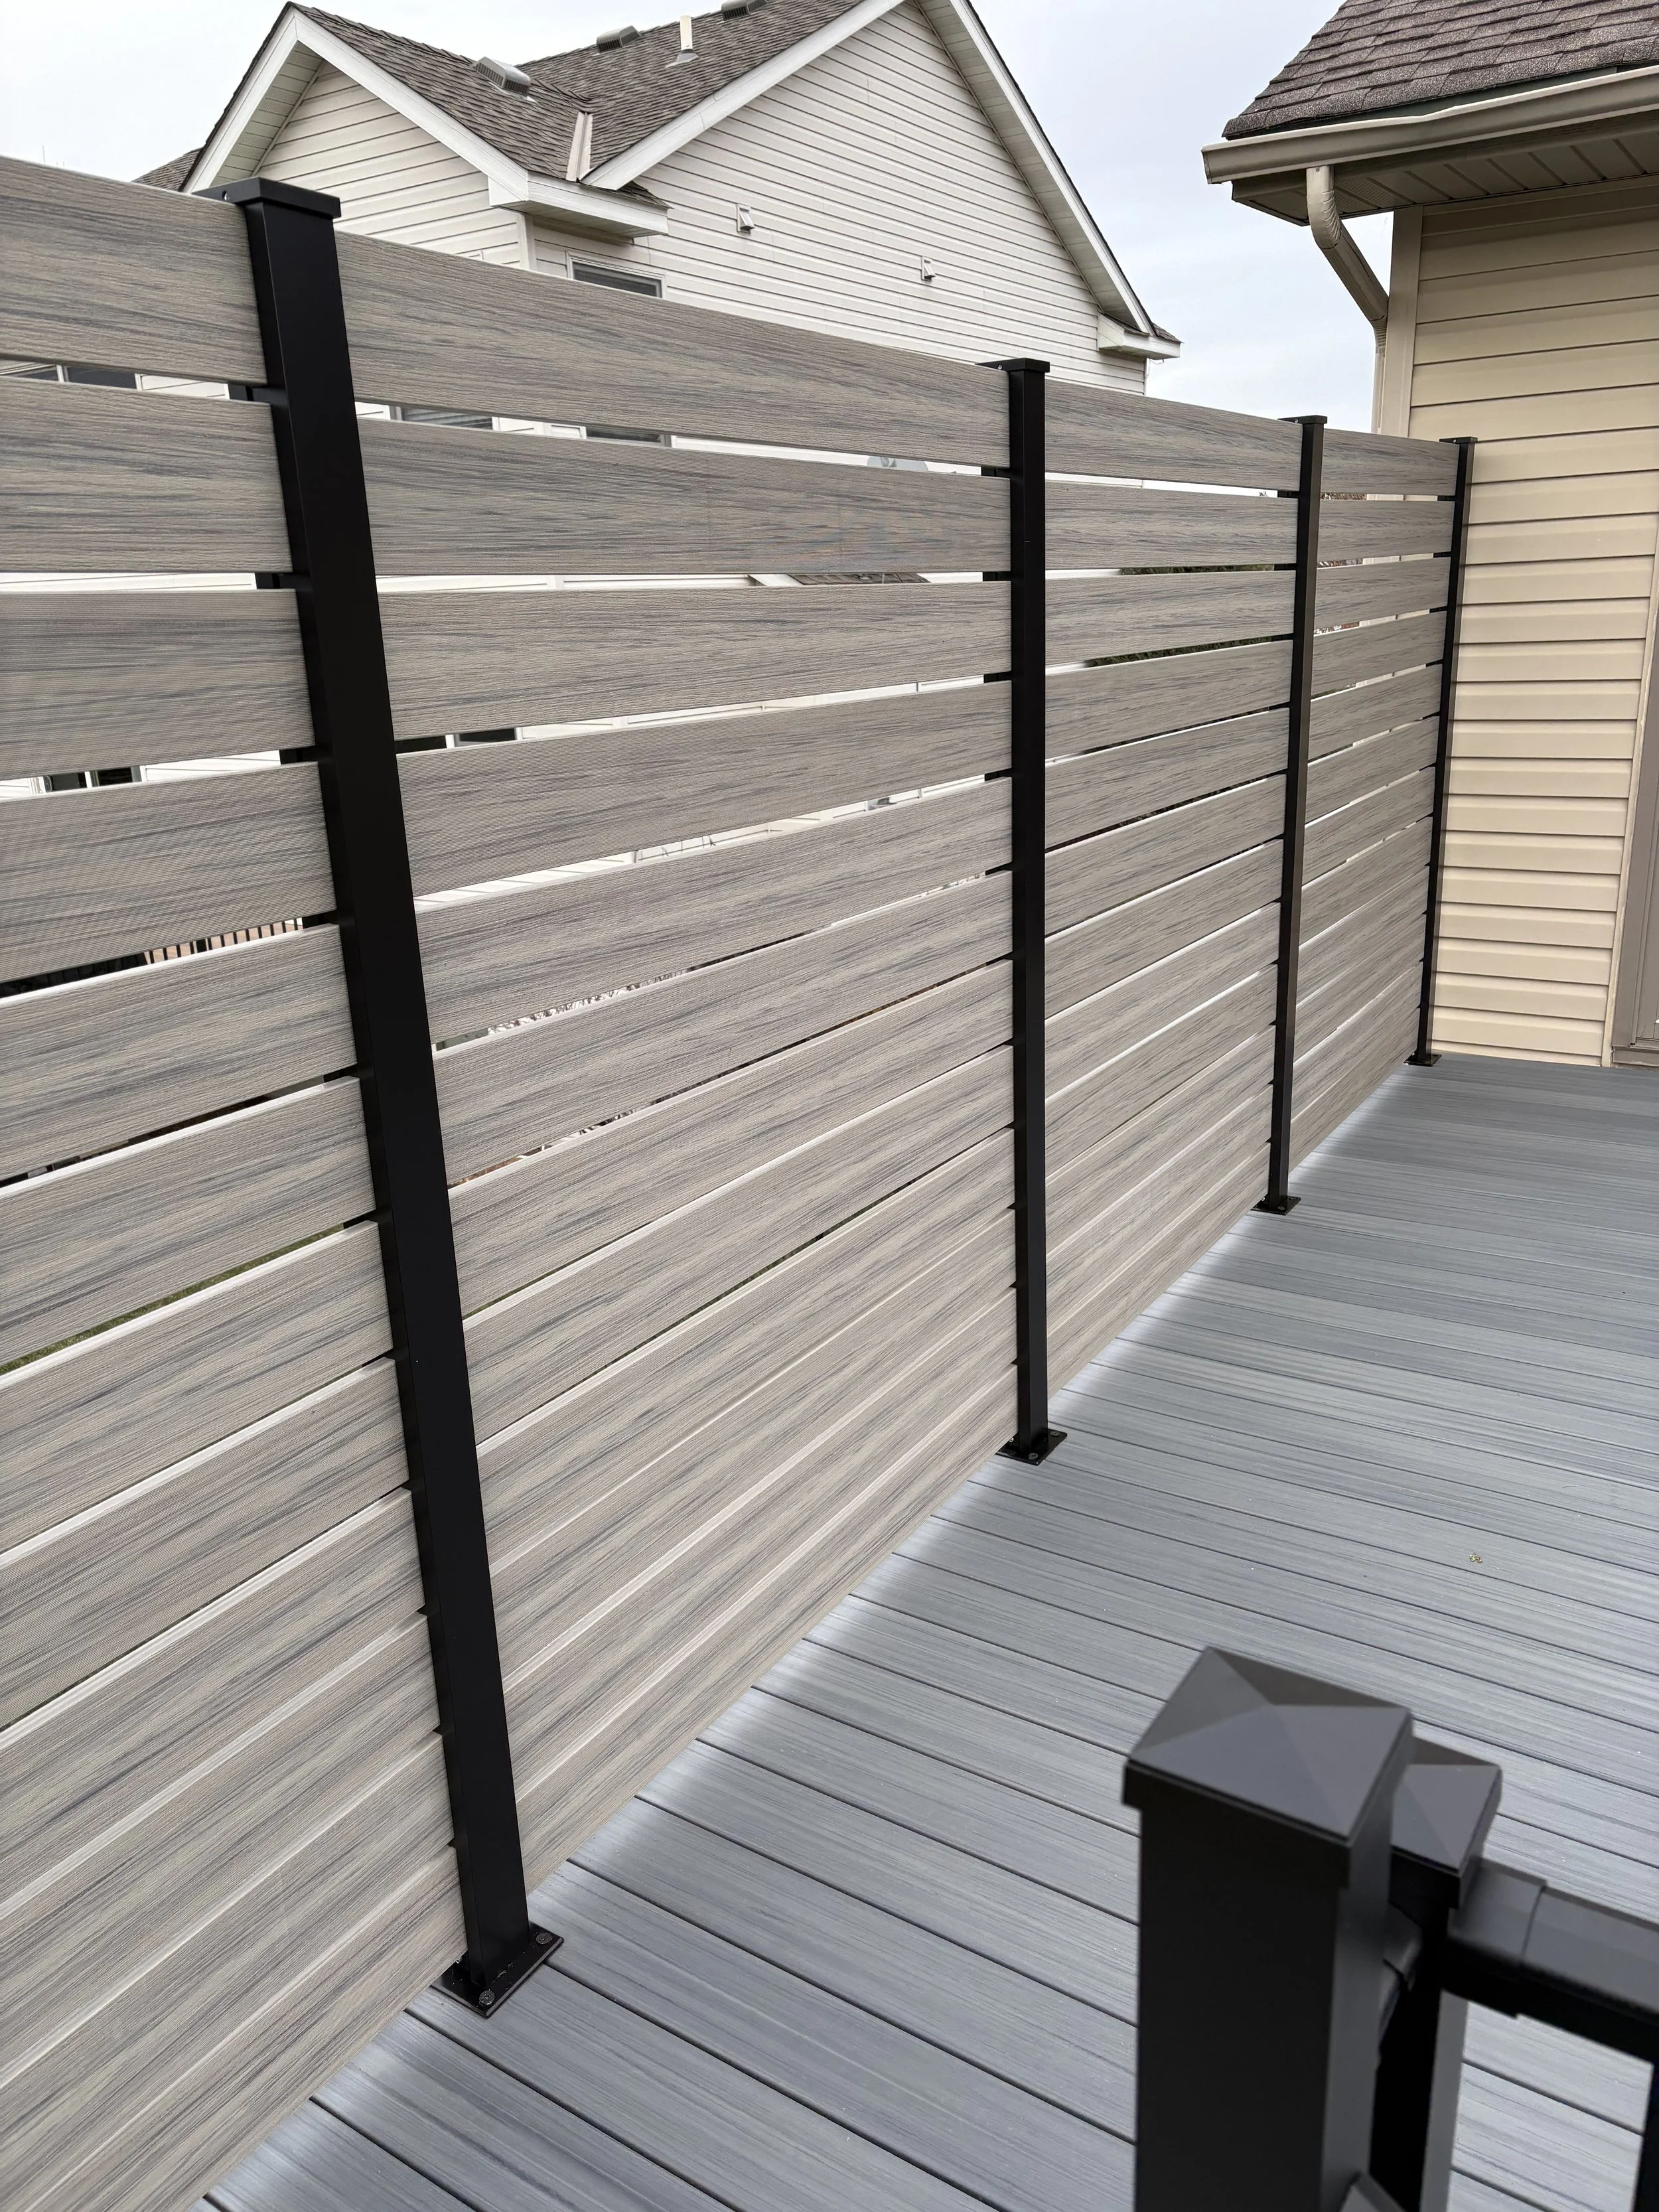
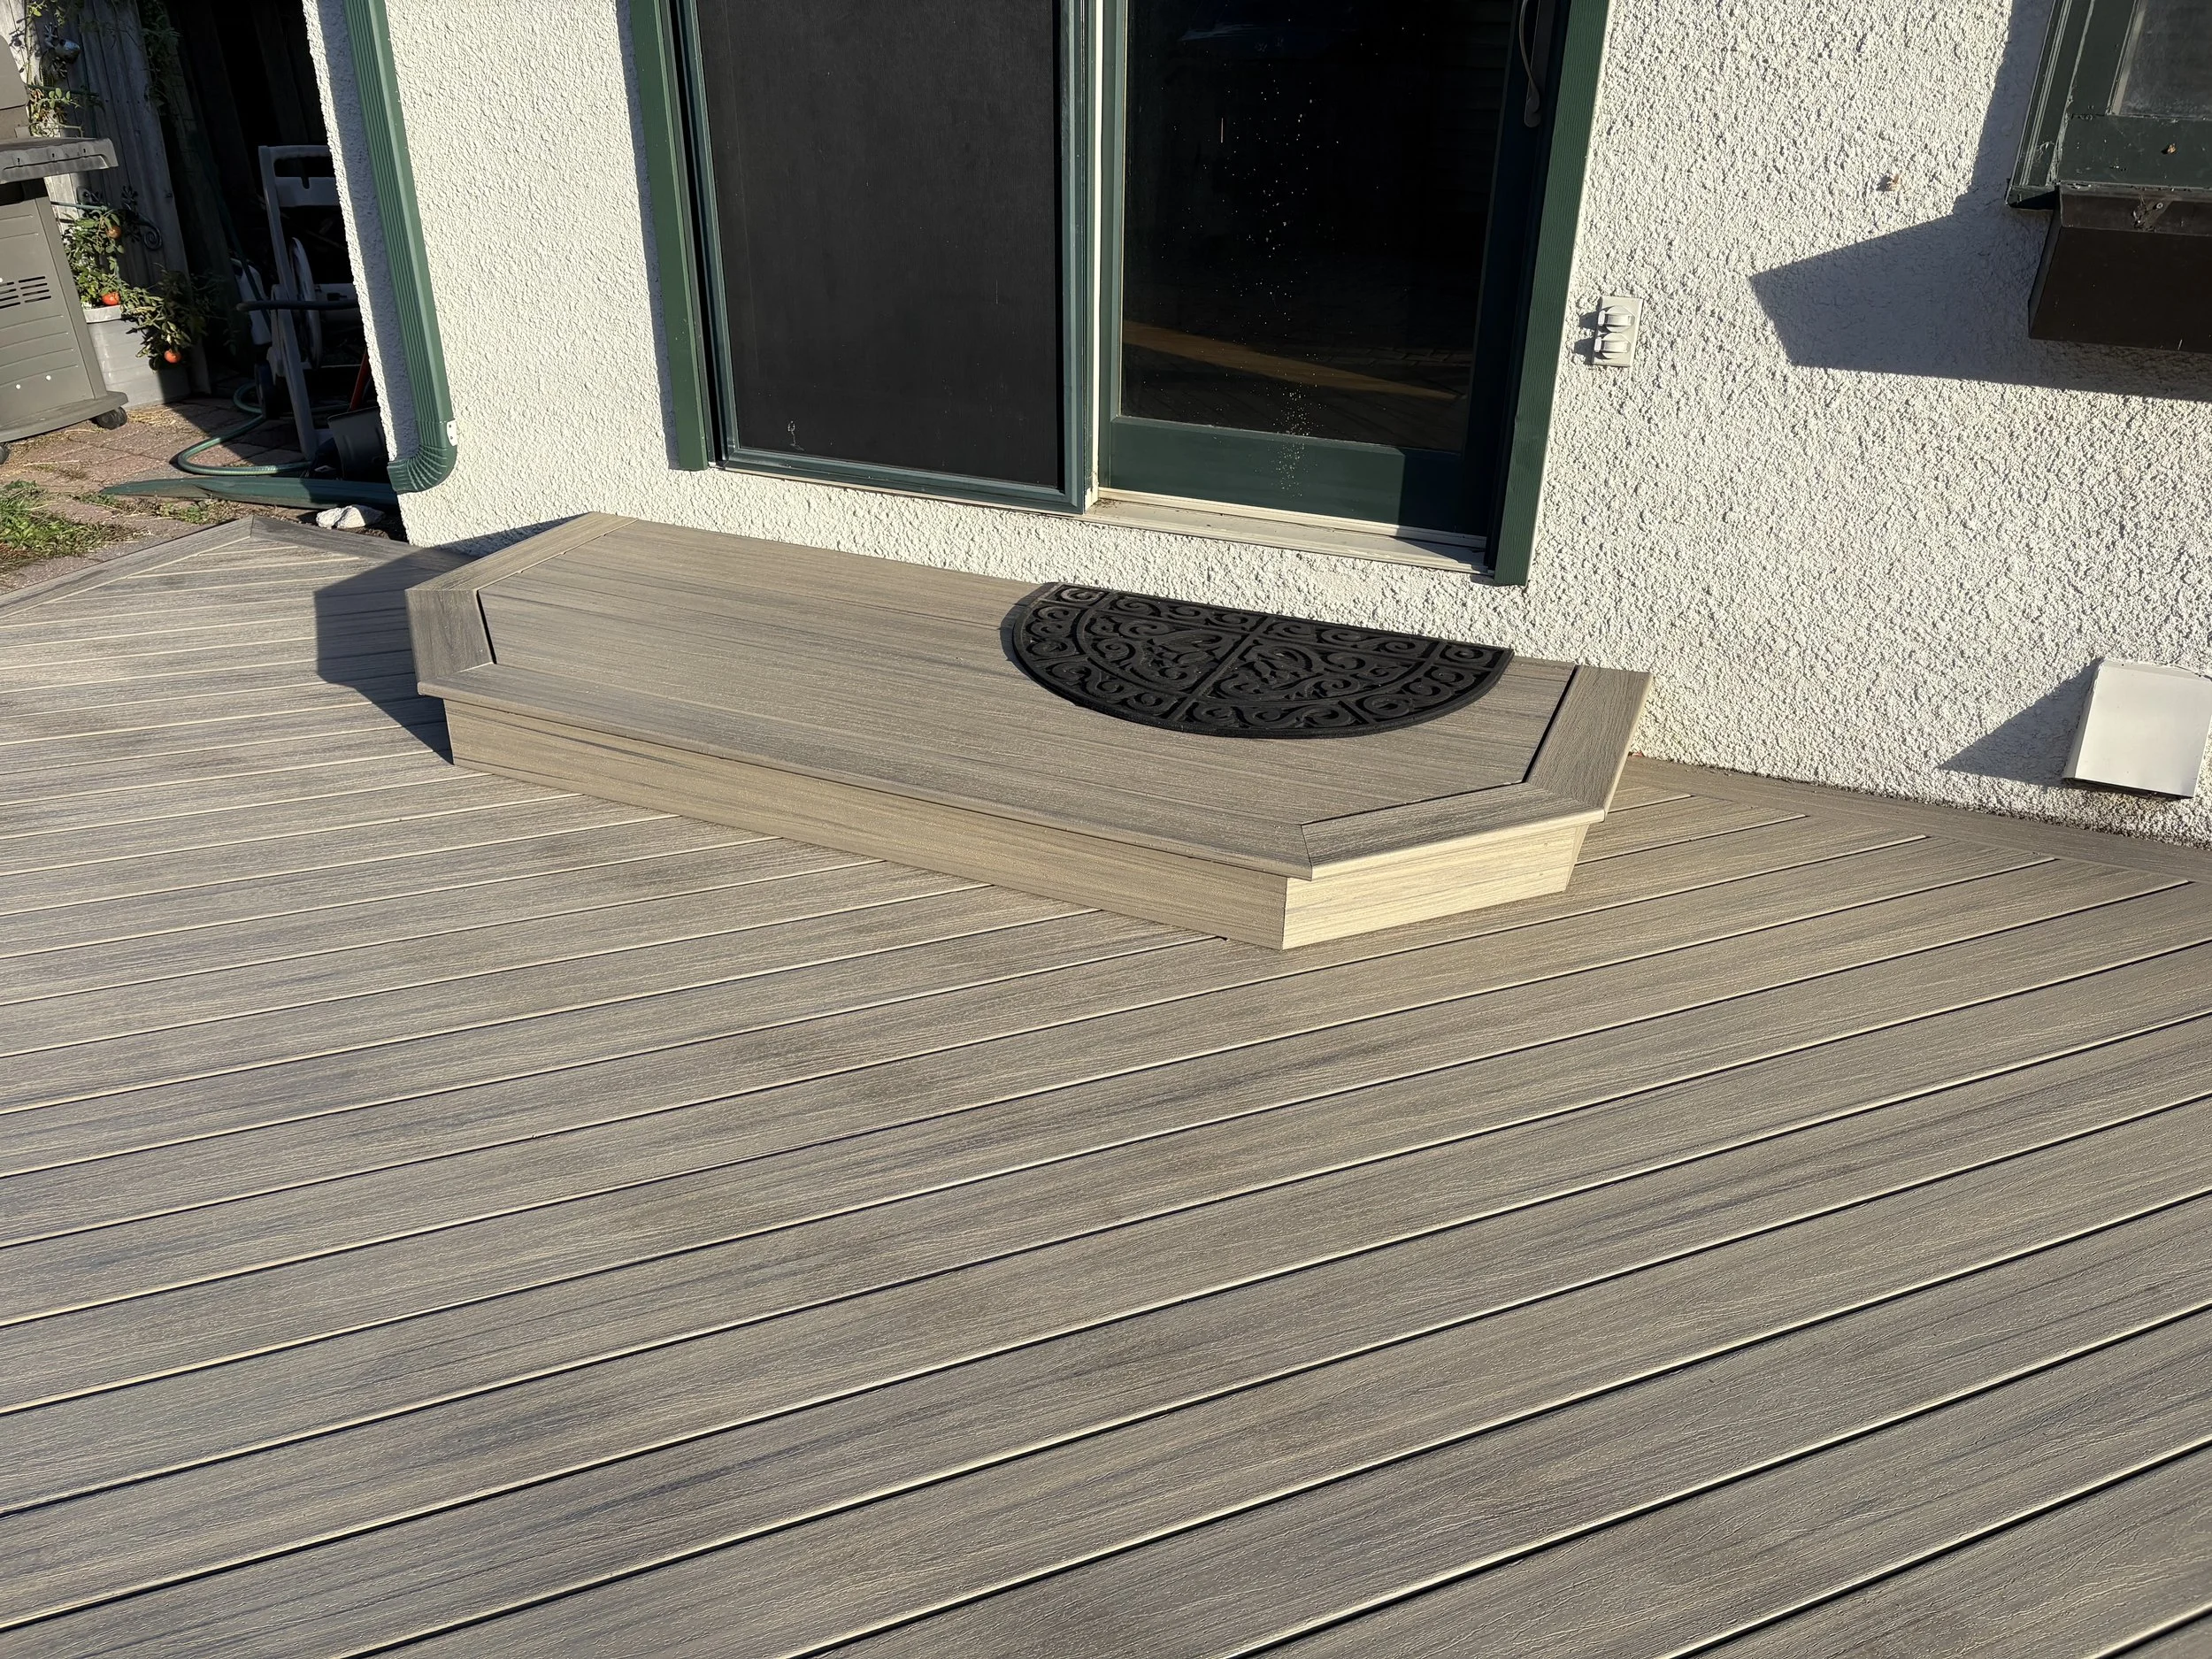
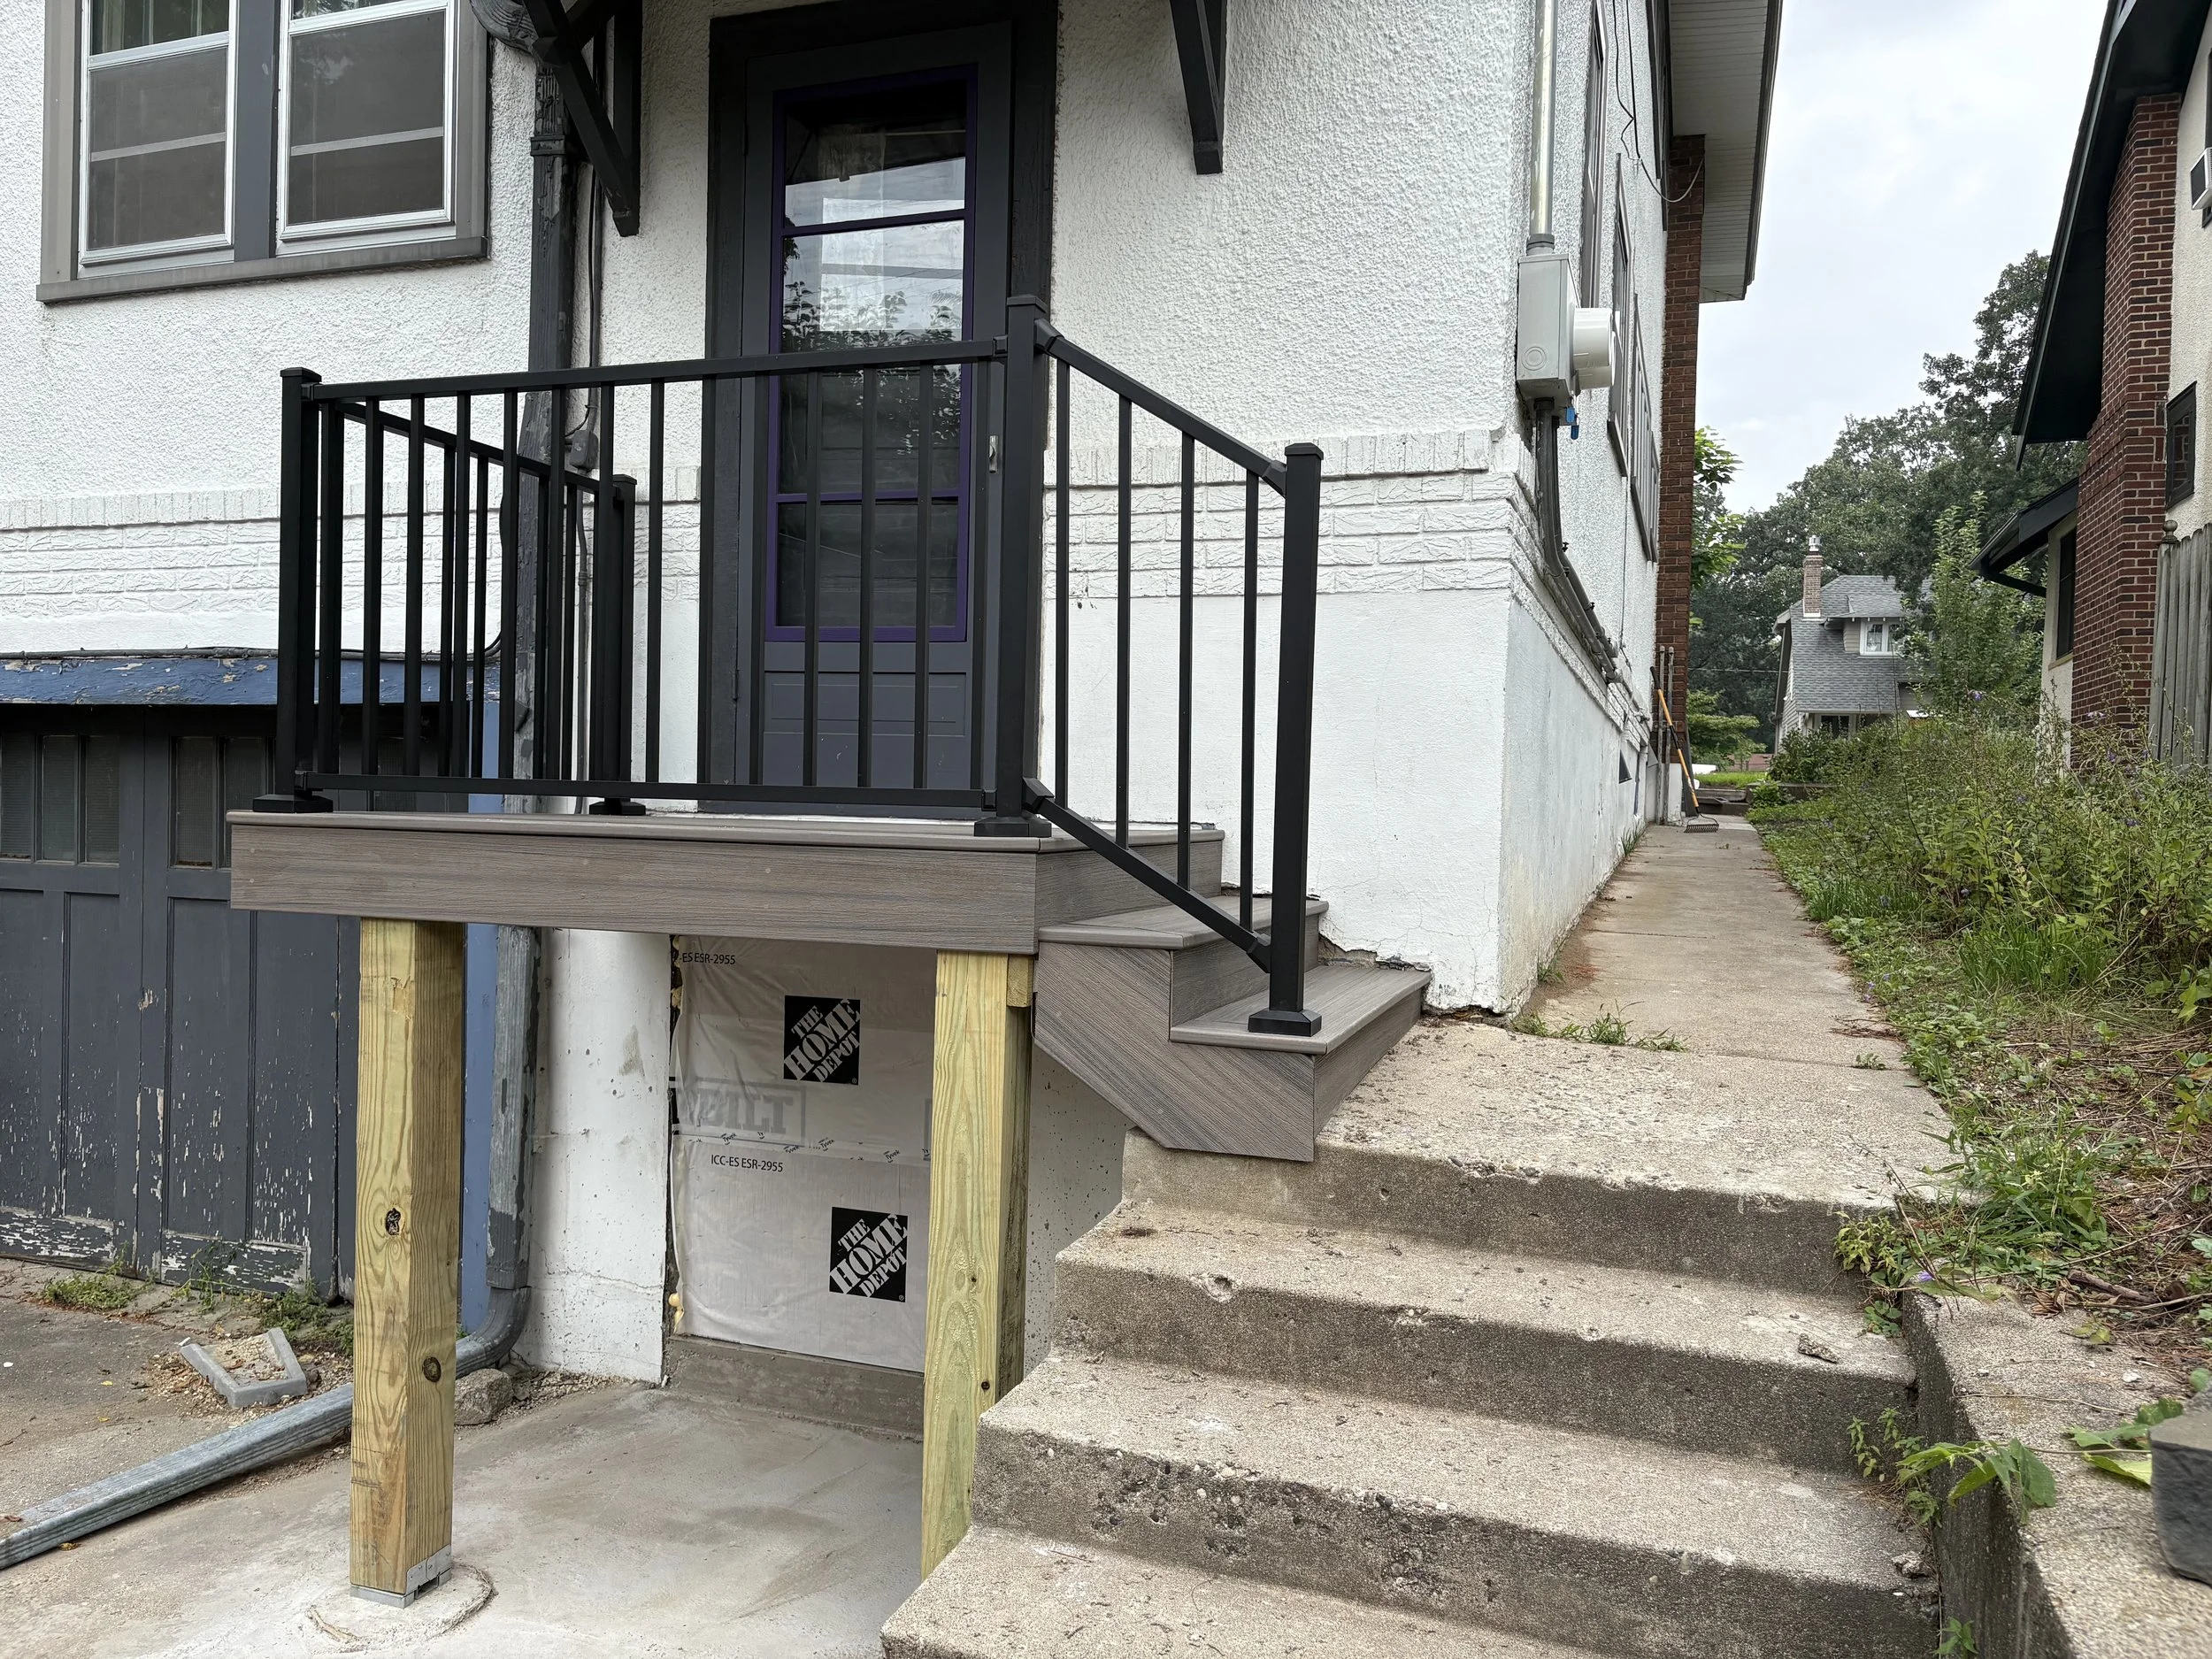
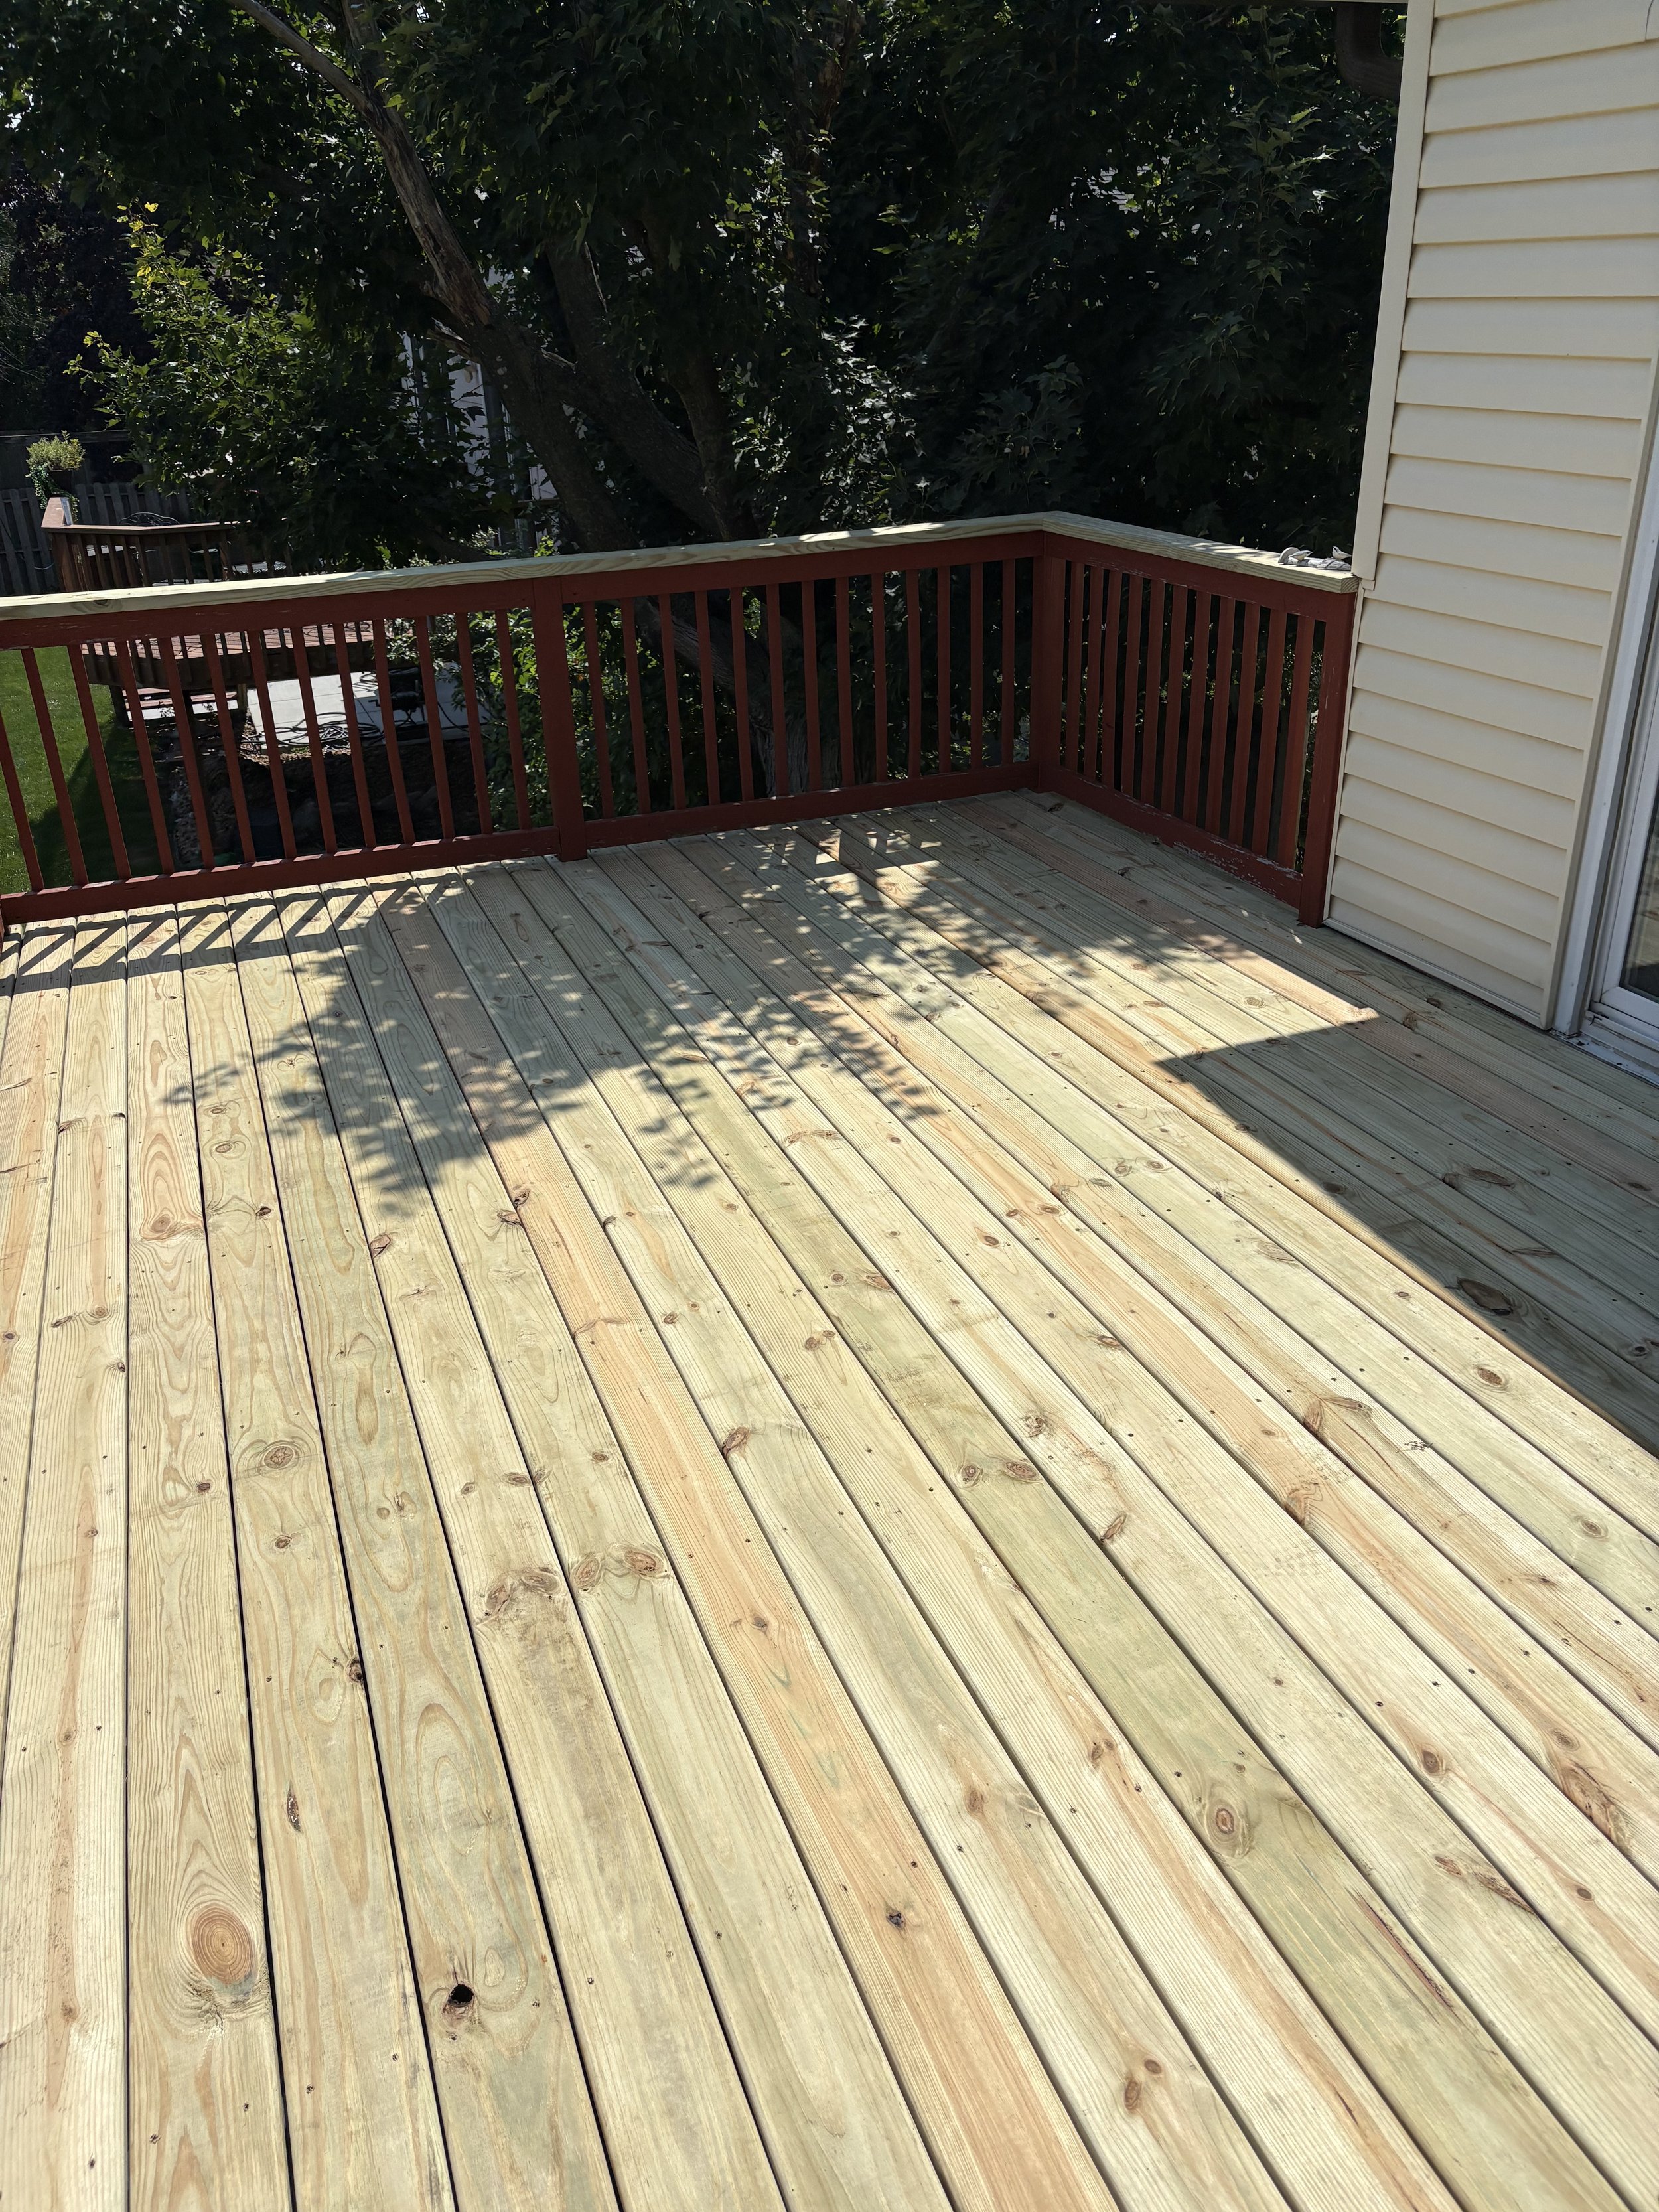
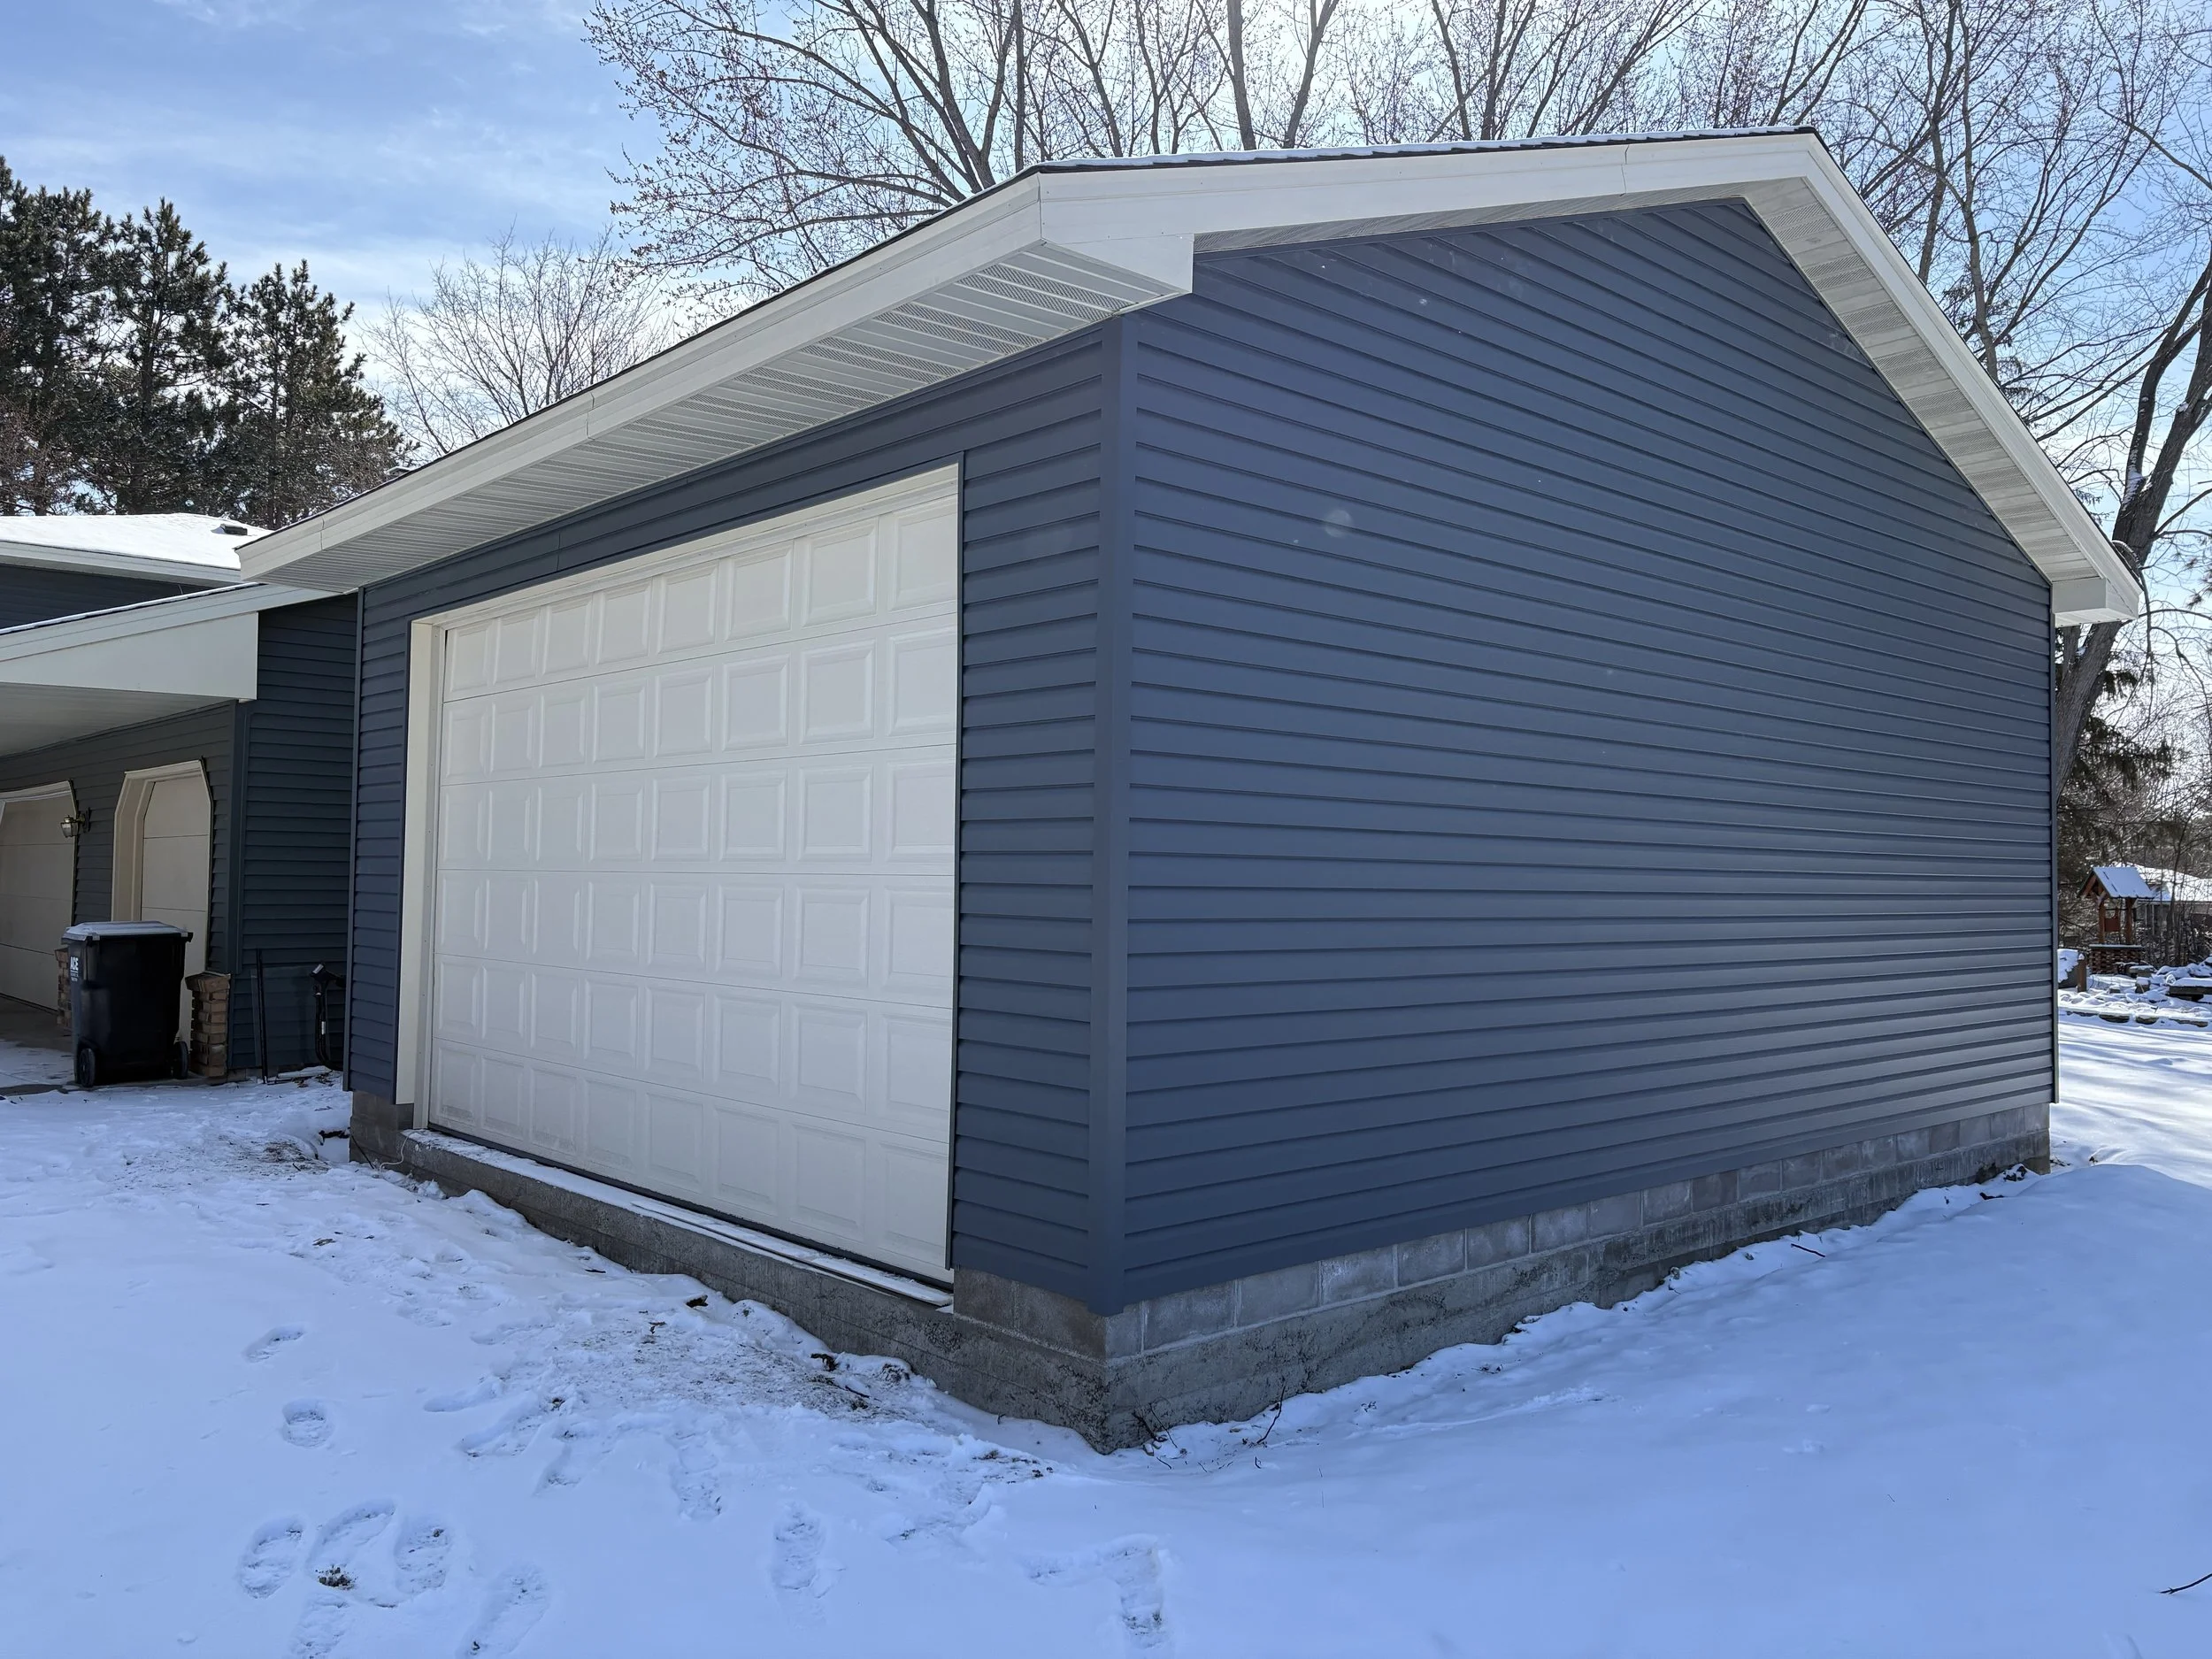
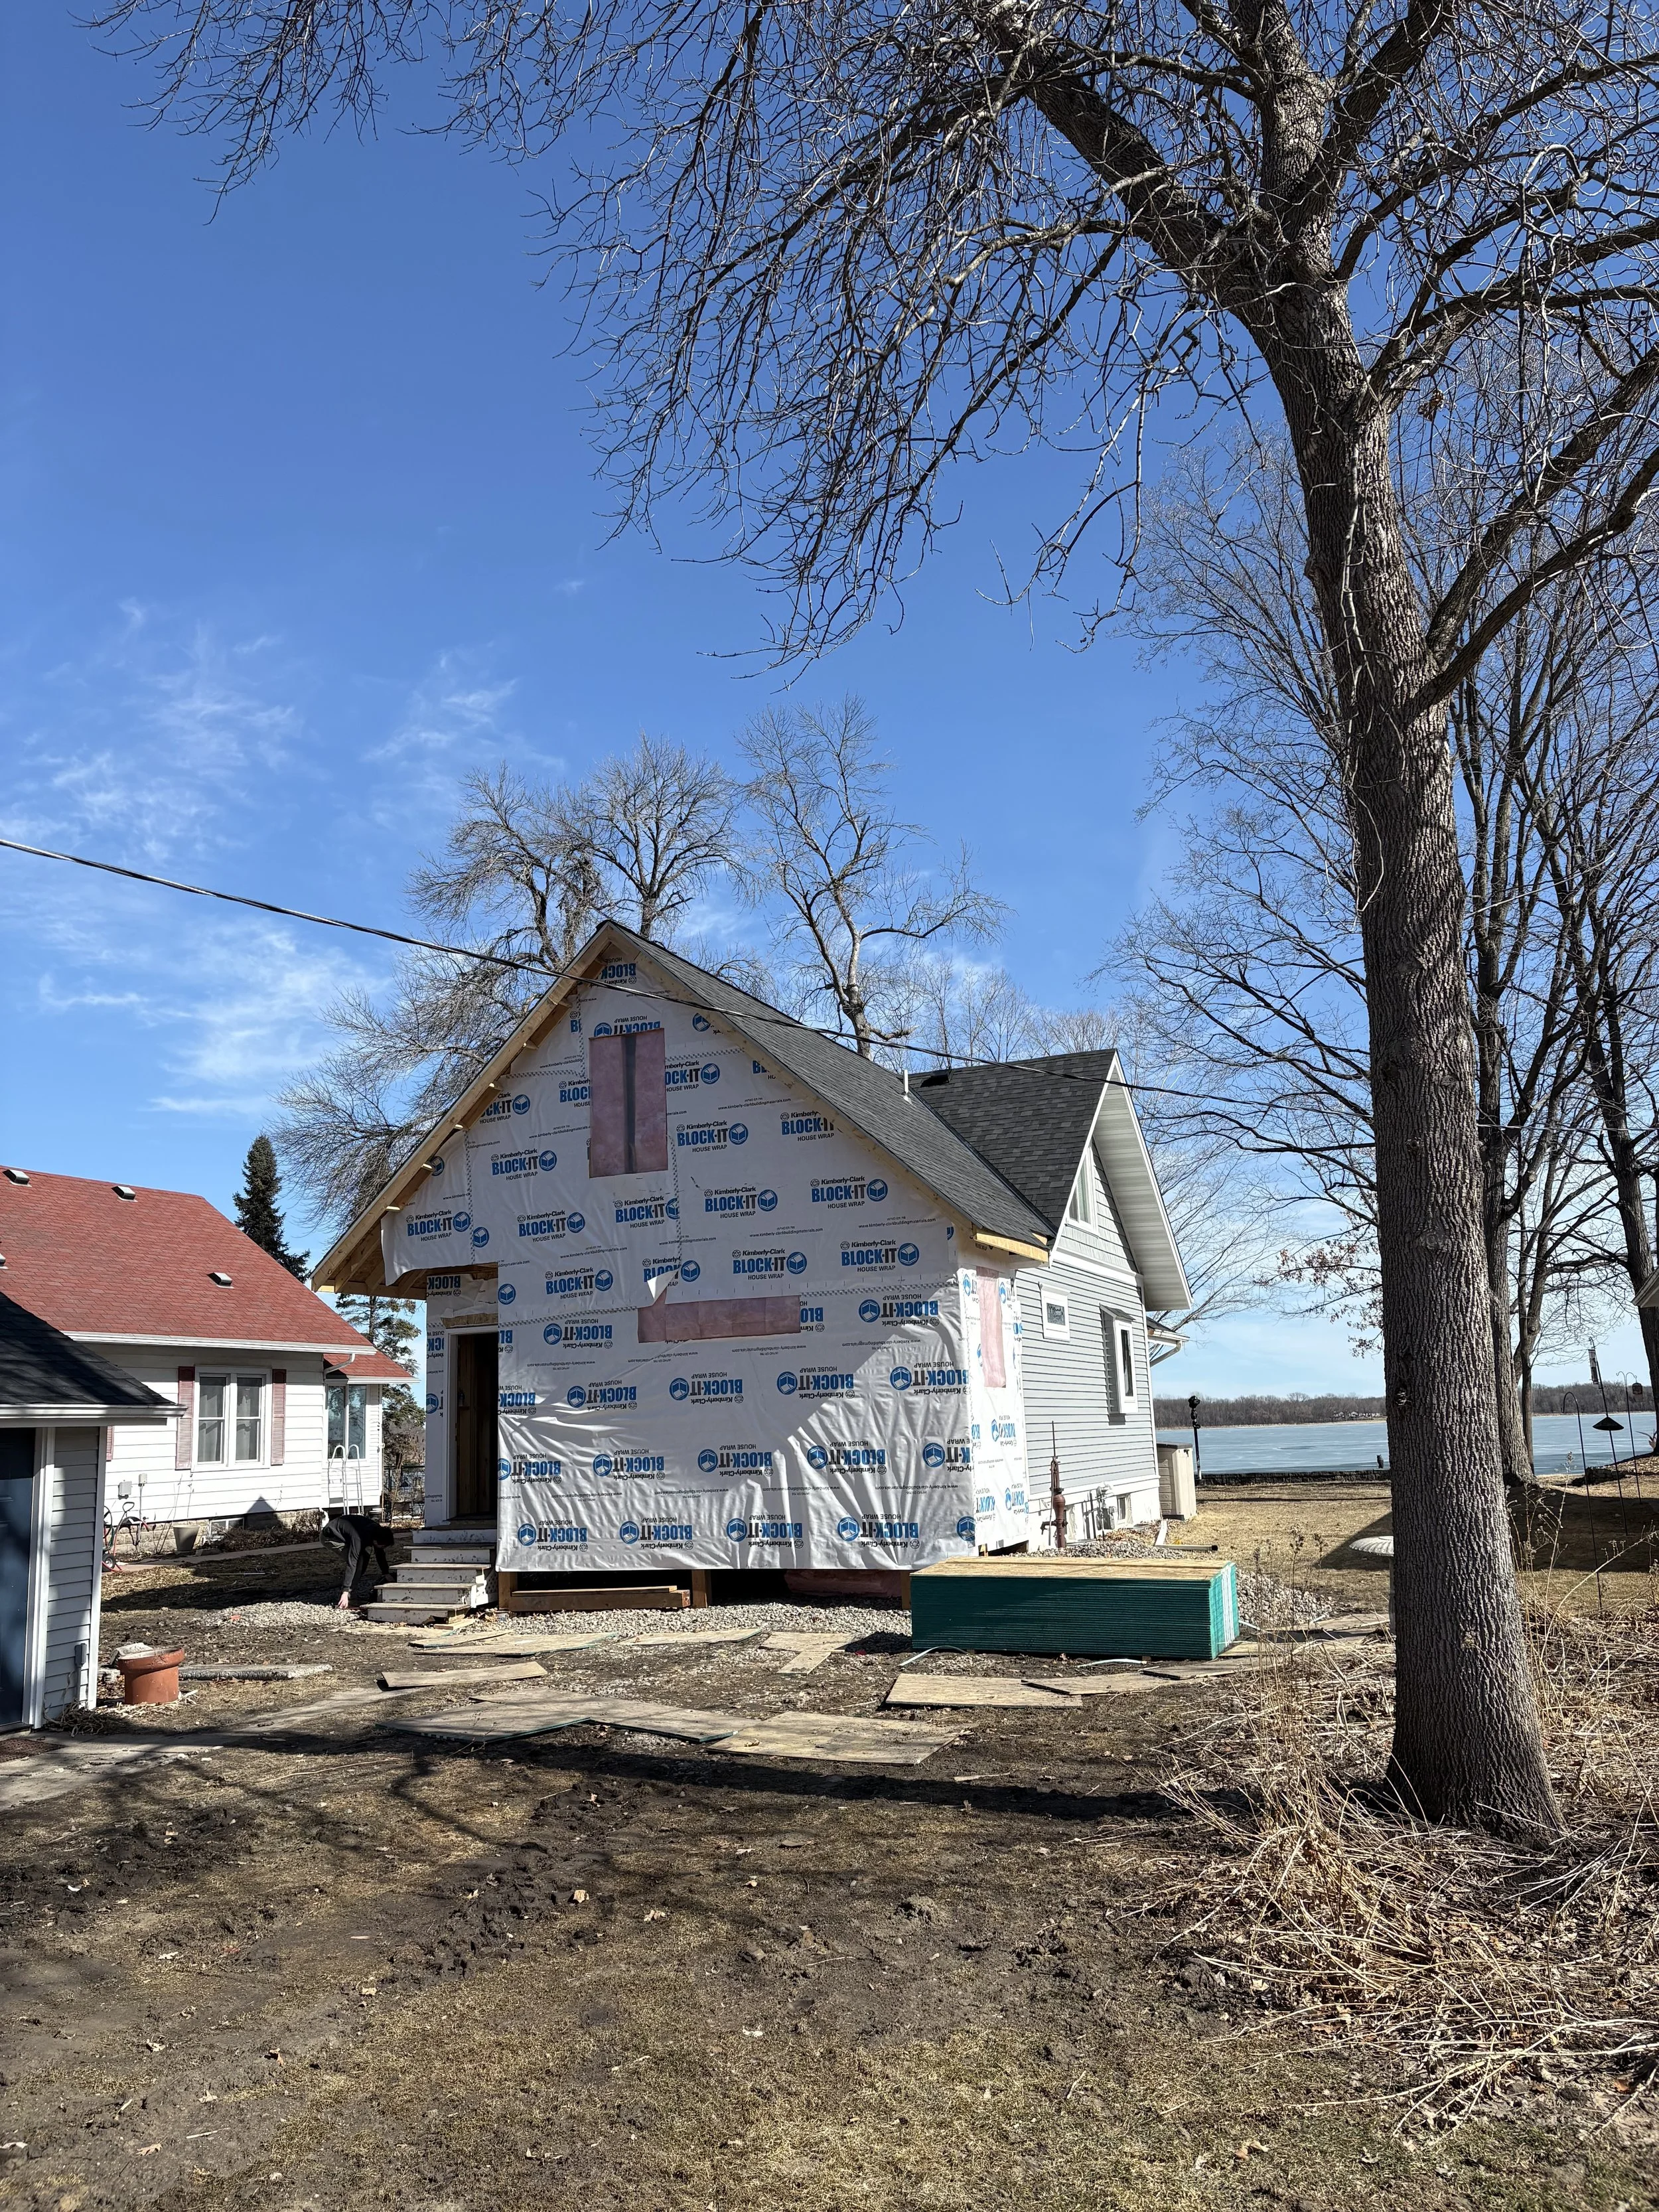
AFTER